I talk often about the ideas and themes of my work. But when it’s time for questions, people always seem curious about the nuts and bolts of how it actually gets made. With that in mind, I’m sharing a more detailed explanation of the materials, techniques and evolution of my process.
I first heard of the punch needle in 2018. I had made a big switch from painting to weaving about a year before that, but the tapestry medium was beginning to frustrate me. I wanted to start making more representational images instead of the abstract work I had been doing, but it took so much time and effort to create a crude amount of detail on my simple tapestry loom.
One day, I saw another artist using a punch needle in a video online, and I was instantly captivated: what is this mysterious object that embroiders thread like a drawing tool?
It was an Oxford punch needle. I ordered the #10 regular a week later.
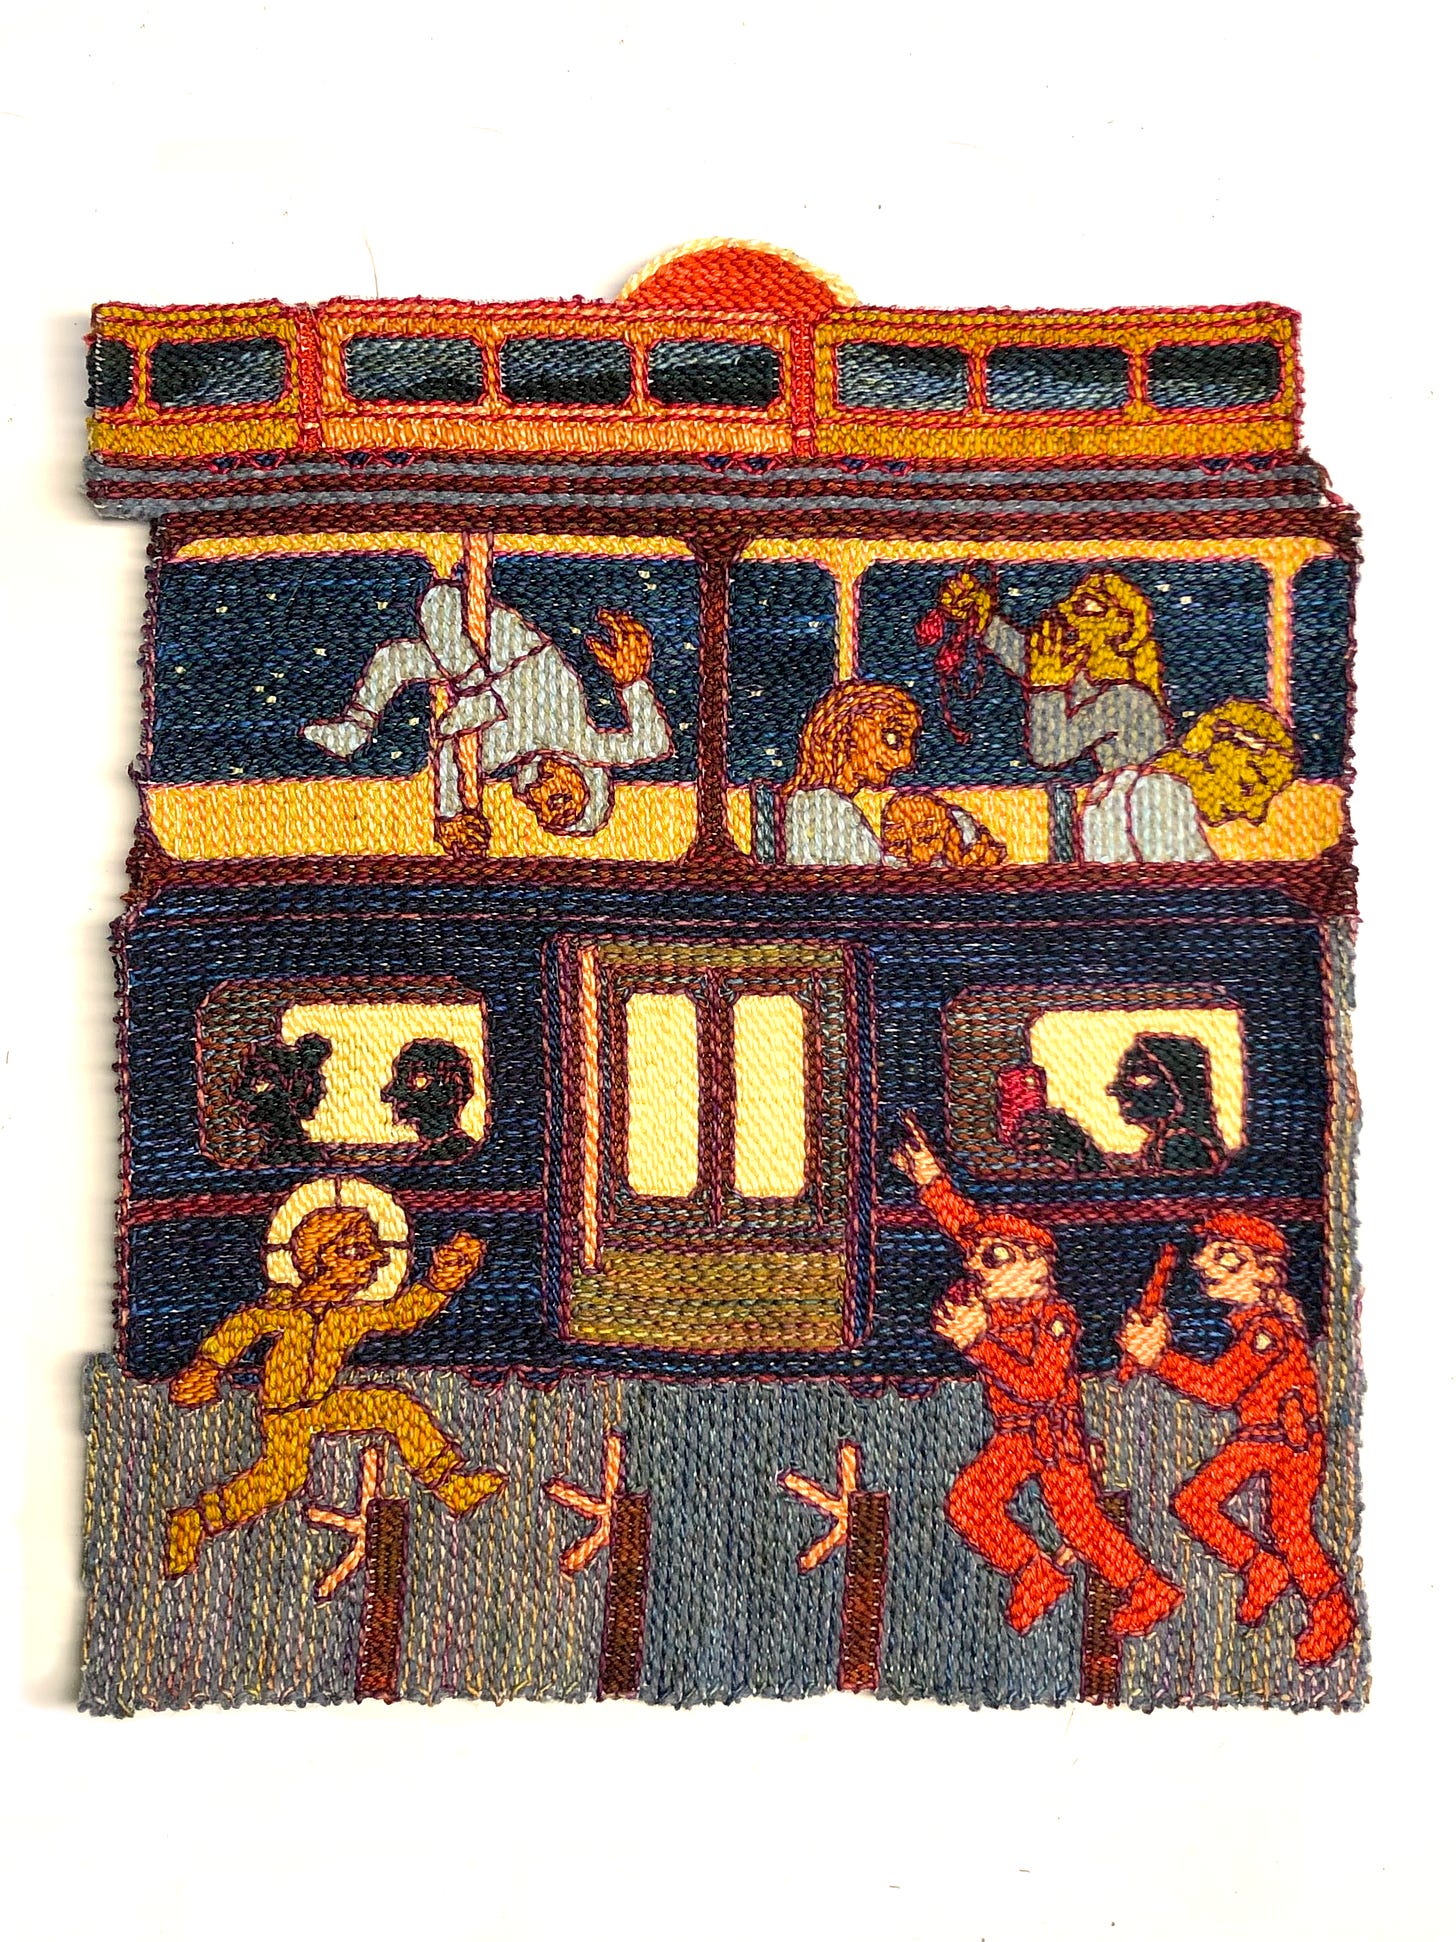
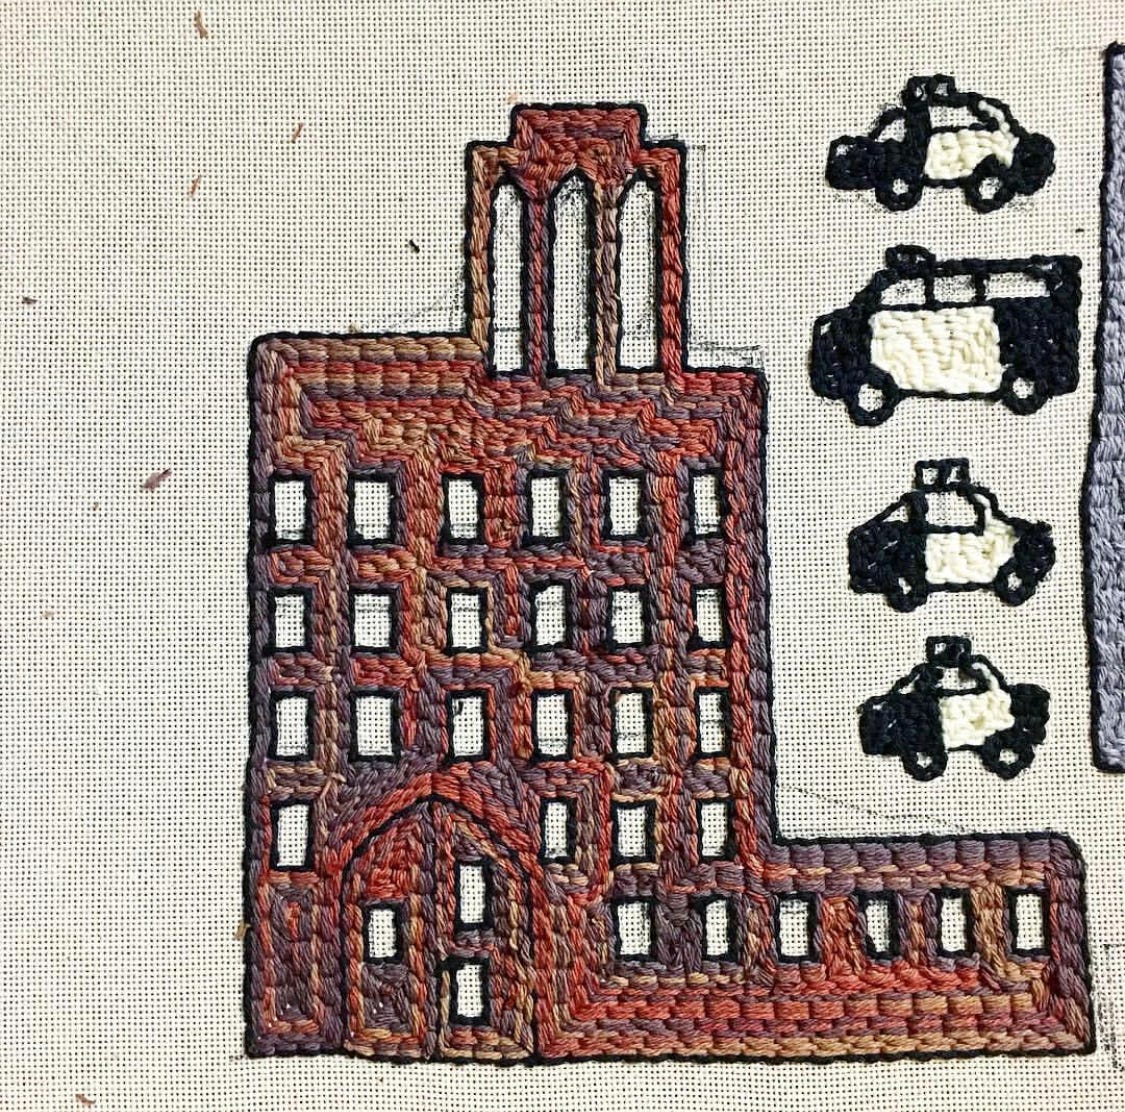
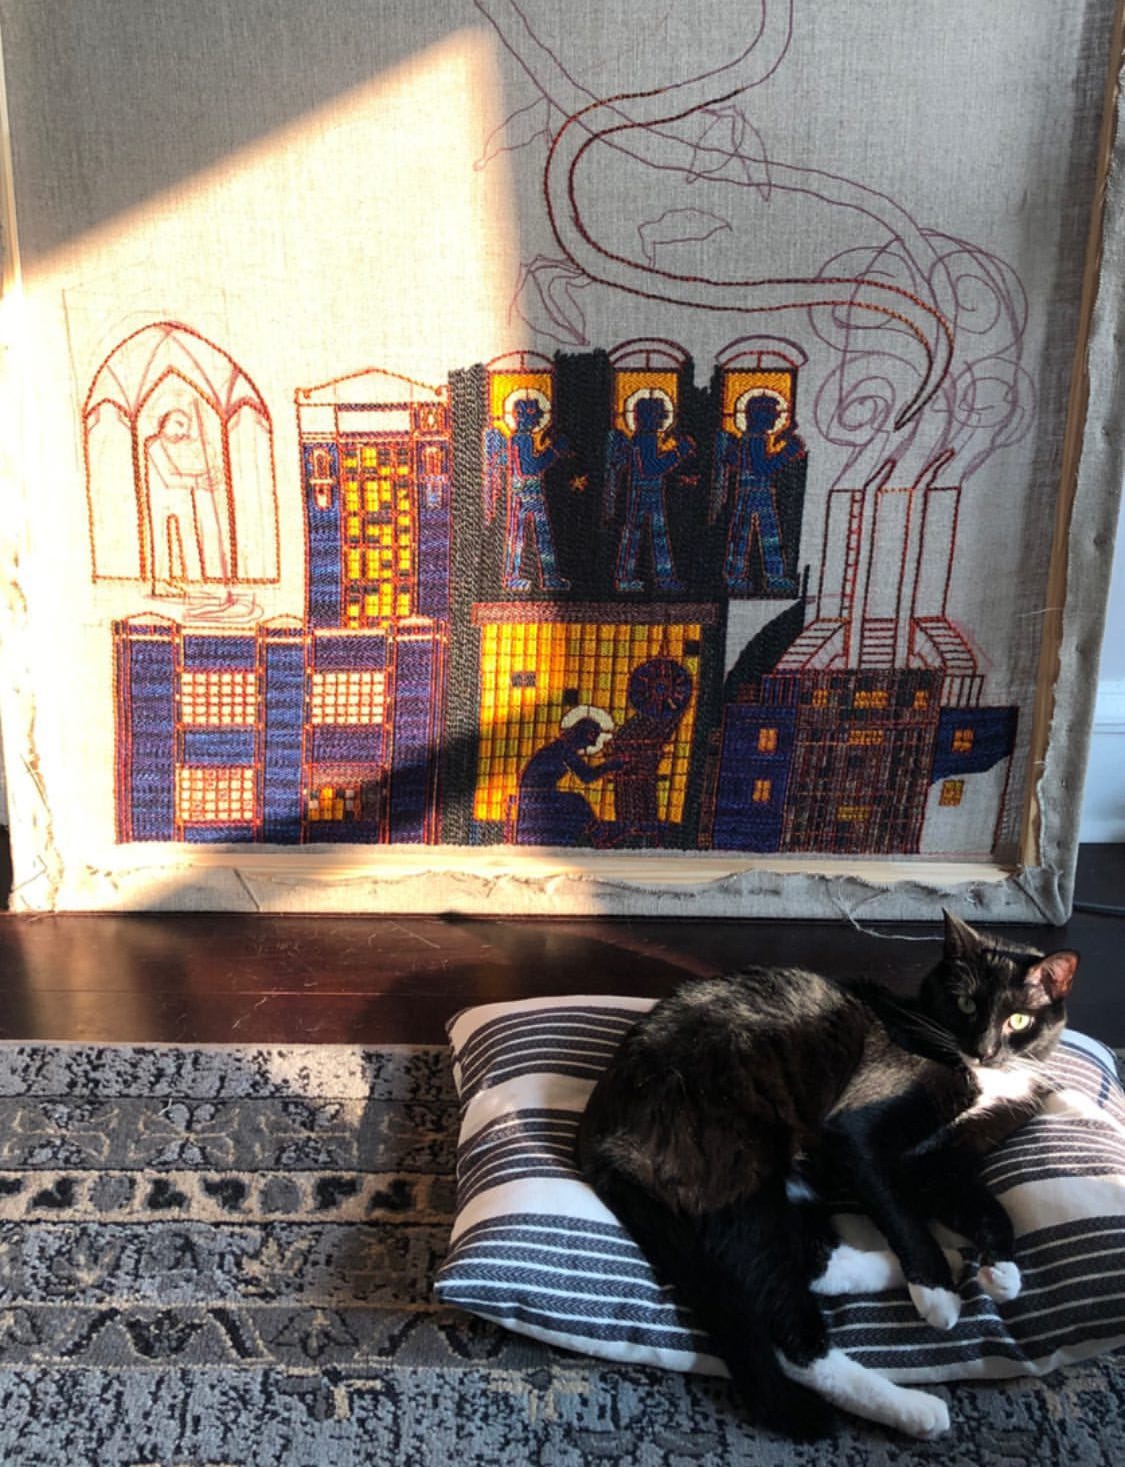
One of the first images I made with my new needle was a castle-like cityscape. I remember looking at the fuzzy “front” side of the piece, then the flat-stitched “back” side, and thinking that I preferred the amount of detail I saw in the latter.
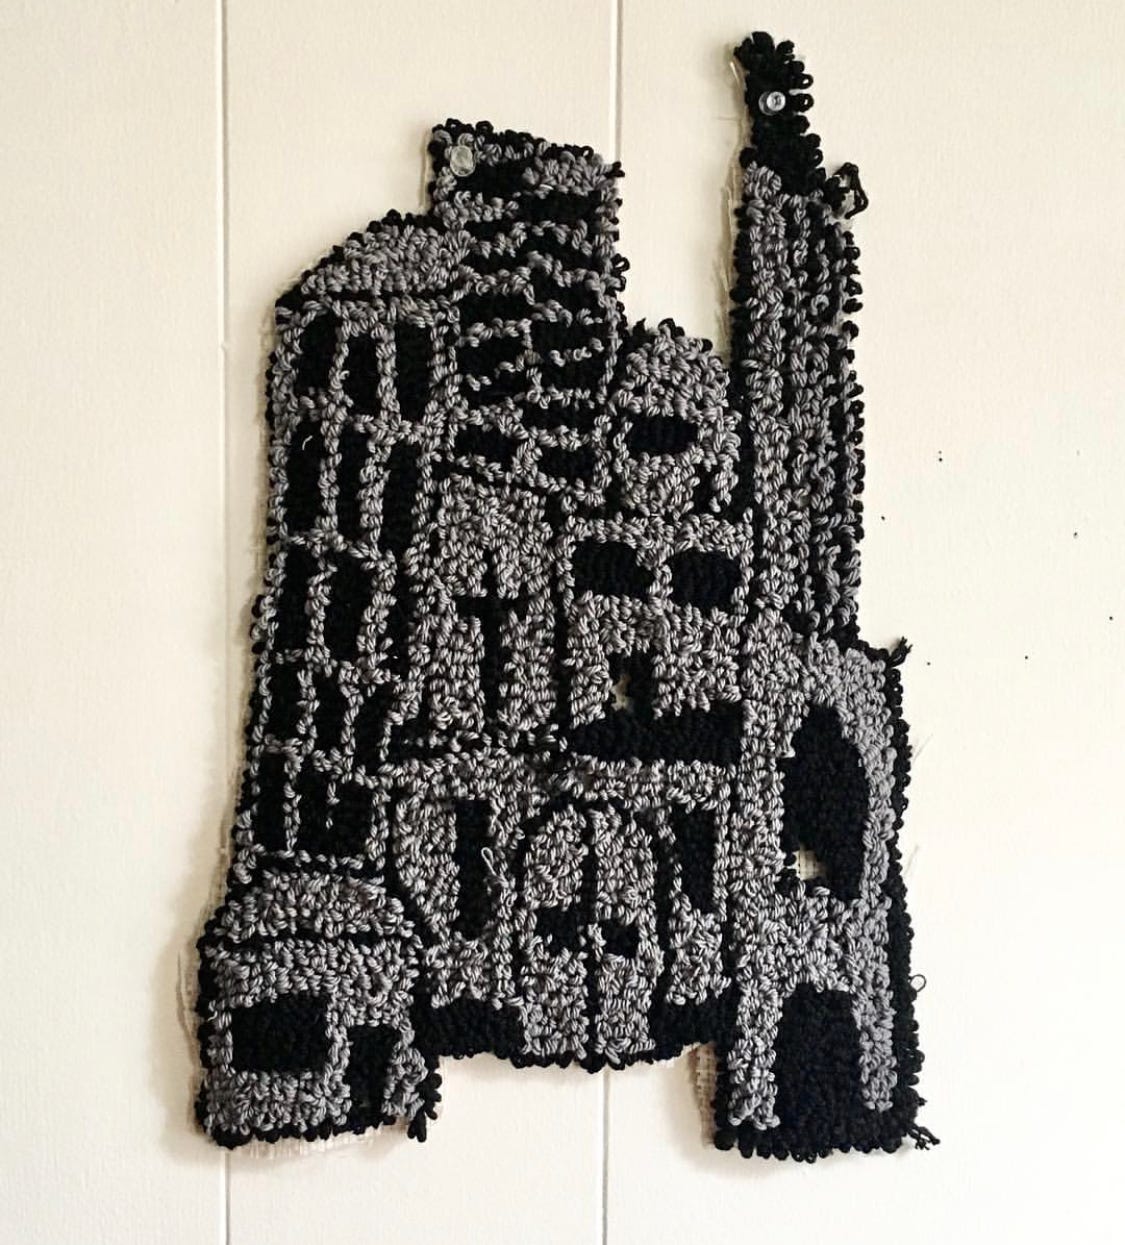
As a result, I’ve always shown the back side of my work as the front. It’s confused a lot of viewers over the years, so, just to clear the air: I am cheating. I am showing you the back.
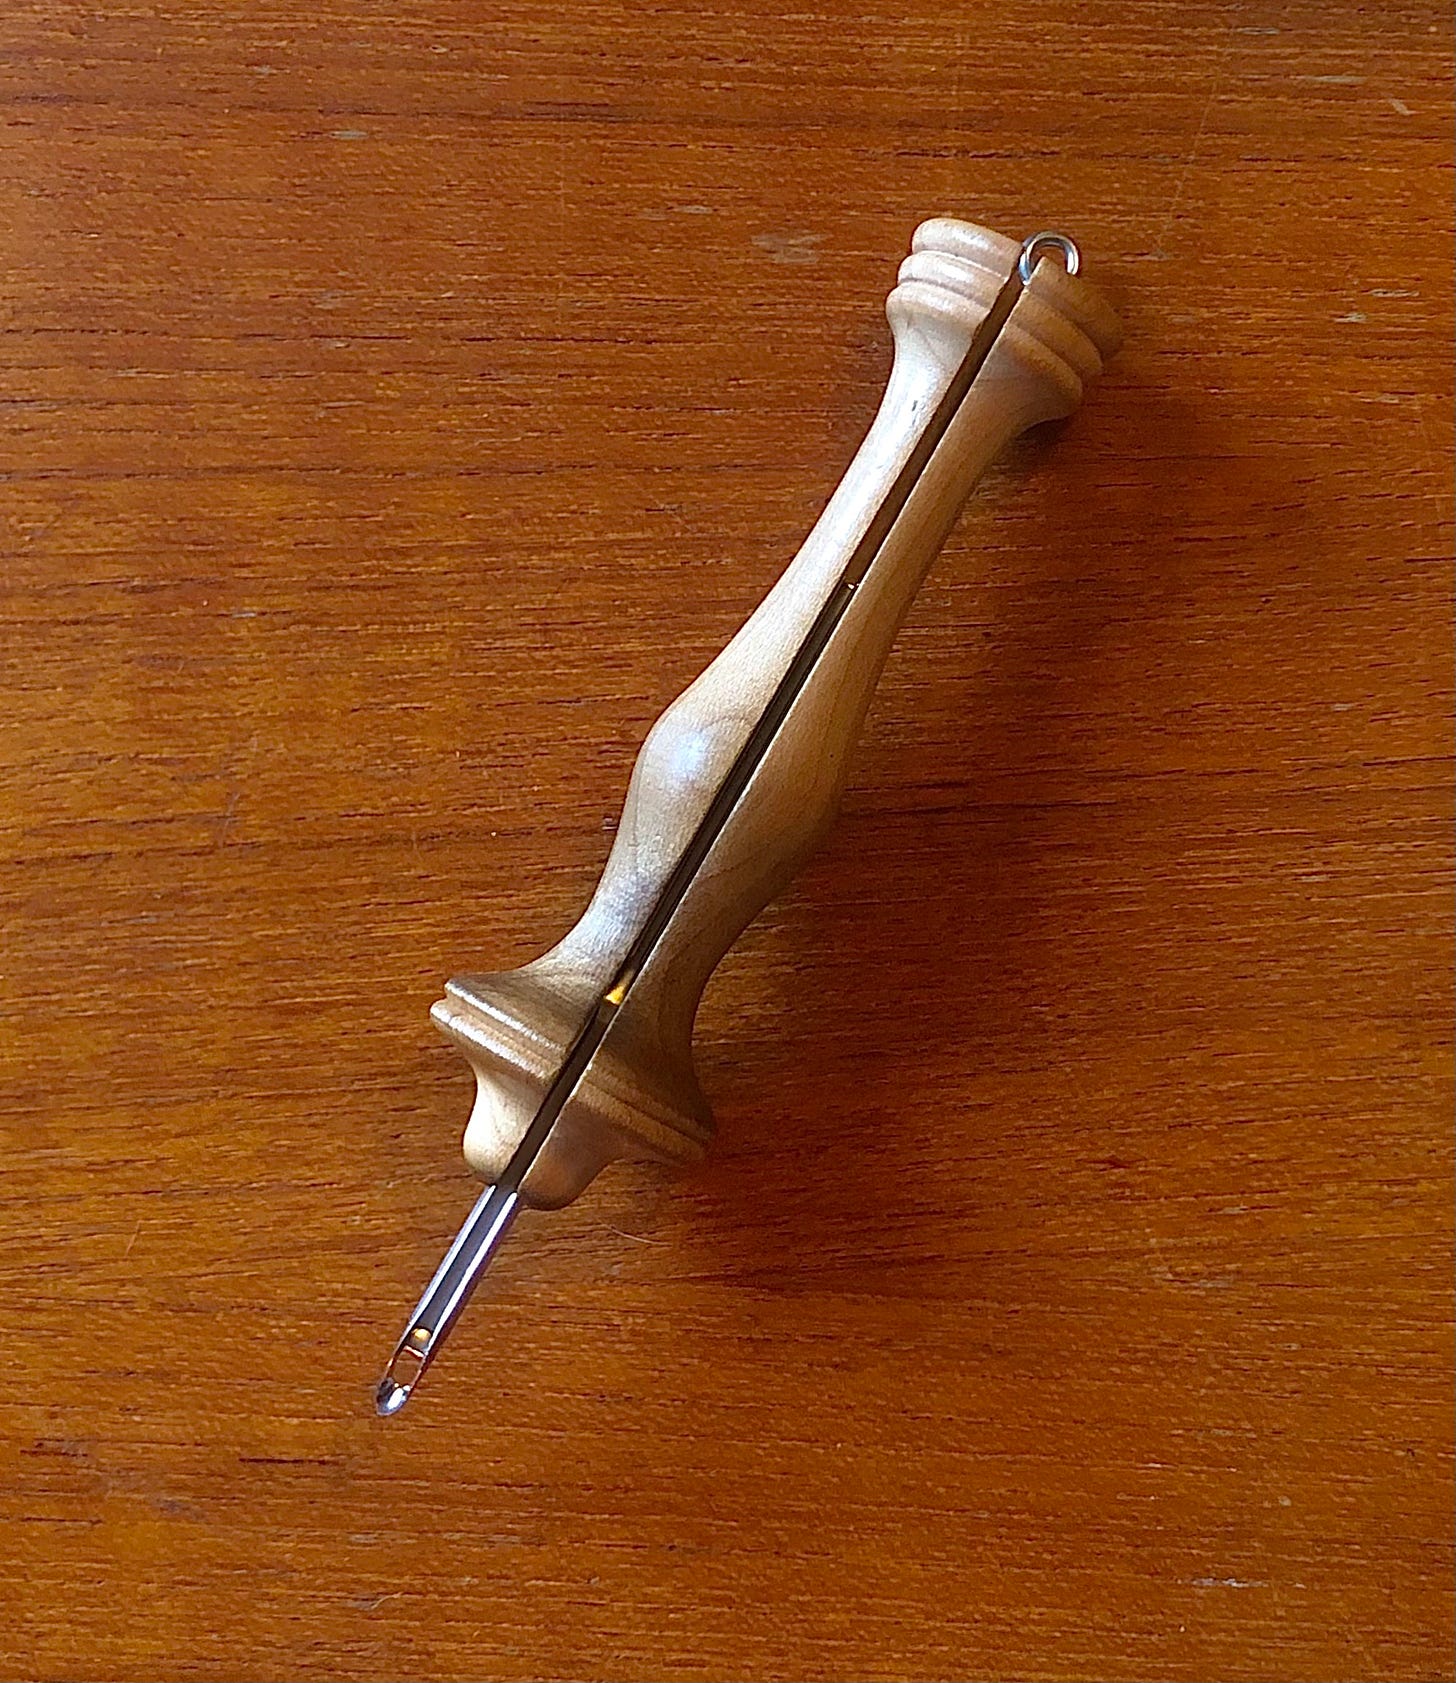
Basically, it’s a hollow needle that feeds yarn through a hole in the sharpened tip. When you poke the tip of the needle through the loose weave of a backing cloth, it creates a loop on the other side. You can make a row of embroidery-like stitches by “punching” the wood-handled needle across the backing.
The punch needle is a slightly more efficient version of traditional rug-hooking or latching tools, which are well-loved devices of our crafting ancestors over hundreds of years.
When I first started, I appreciated how I could begin embroidering at one spot in the image and spread outwards like a stain, making decisions about the imagery as I slowly moved around the canvas.
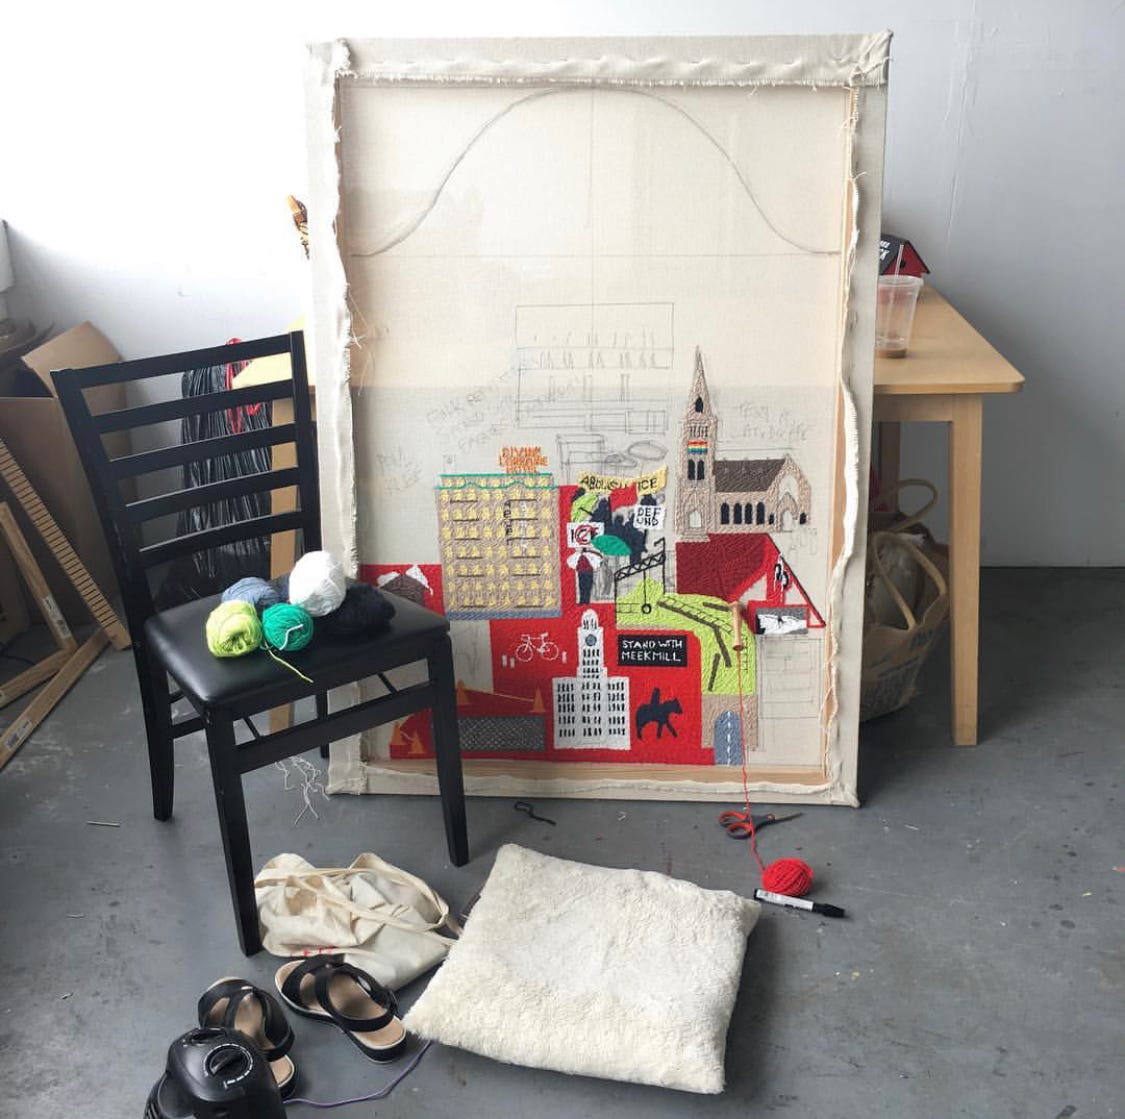
More recently, I’ve tended to start at the very bottom edge of the canvas and work up toward the top in sequential rows. I enjoy how the posture of my body changes throughout the process. I’ve always been a floor sitter, so I’ll start by laying on my stomach with a pillow underneath me. Eventually, I’ll move to kneeling or sitting on the pillow, then graduate to sitting in a chair. At the end, I’ll stand on my feet or use a stepstool if it’s an exceptionally tall piece.
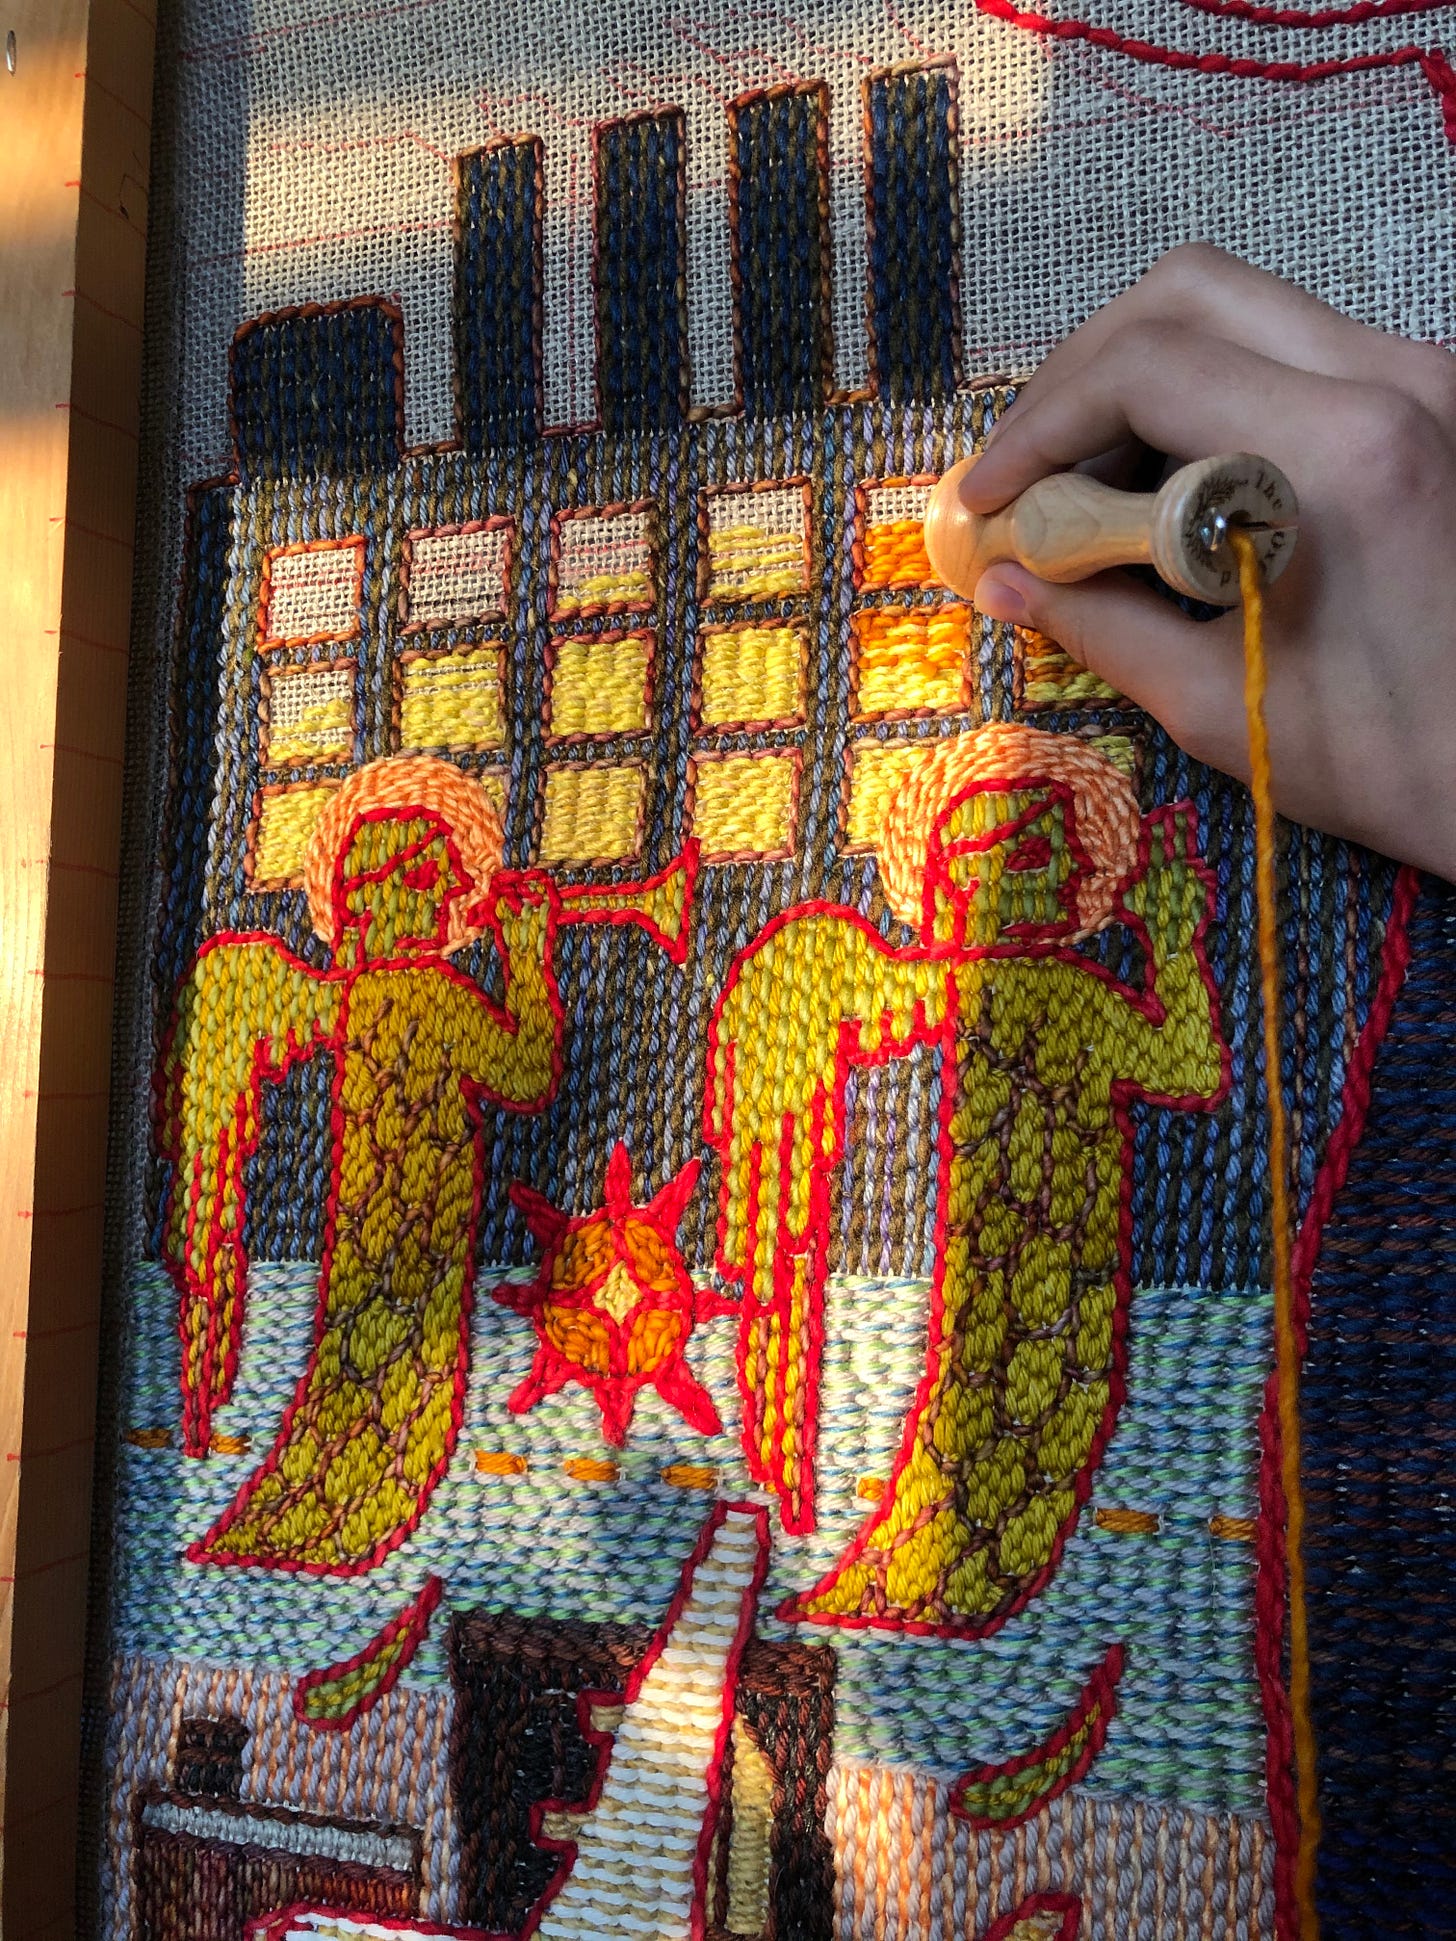
Now that I’ve gotten more practice with the medium, I’ve progressed to using the #14 Mini punch needle. It fits a slightly thinner yarn and makes neater-looking stitches. I also appreciate that this needle comes with a tiny metal ring to keep the yarn in place when I hold the needle upside down.
One reason I moved away from oil painting was because mixing my own colors felt so overwhelming. I had visions of the pure, striking colors I wanted to use, but I always seemed to make mud on my palette.
Working with yarn was so different! I found joy in selecting a few skeins of yarn, then experimenting with how I could combine them in lines and patterns. I knew nothing about yarn, except that I hated how acrylic material felt on my hands, so I bought the cheapest cotton varieties I could find at the craft store.
My first punch needle rugs were made with cotton yarn.
The more I used yarn, the more I started to notice the differences between each brand and material. I was intimidated by specialty yarn stores, but one day, I was brave enough to walk into a shop in Philadelphia and touch everything on the shelf.
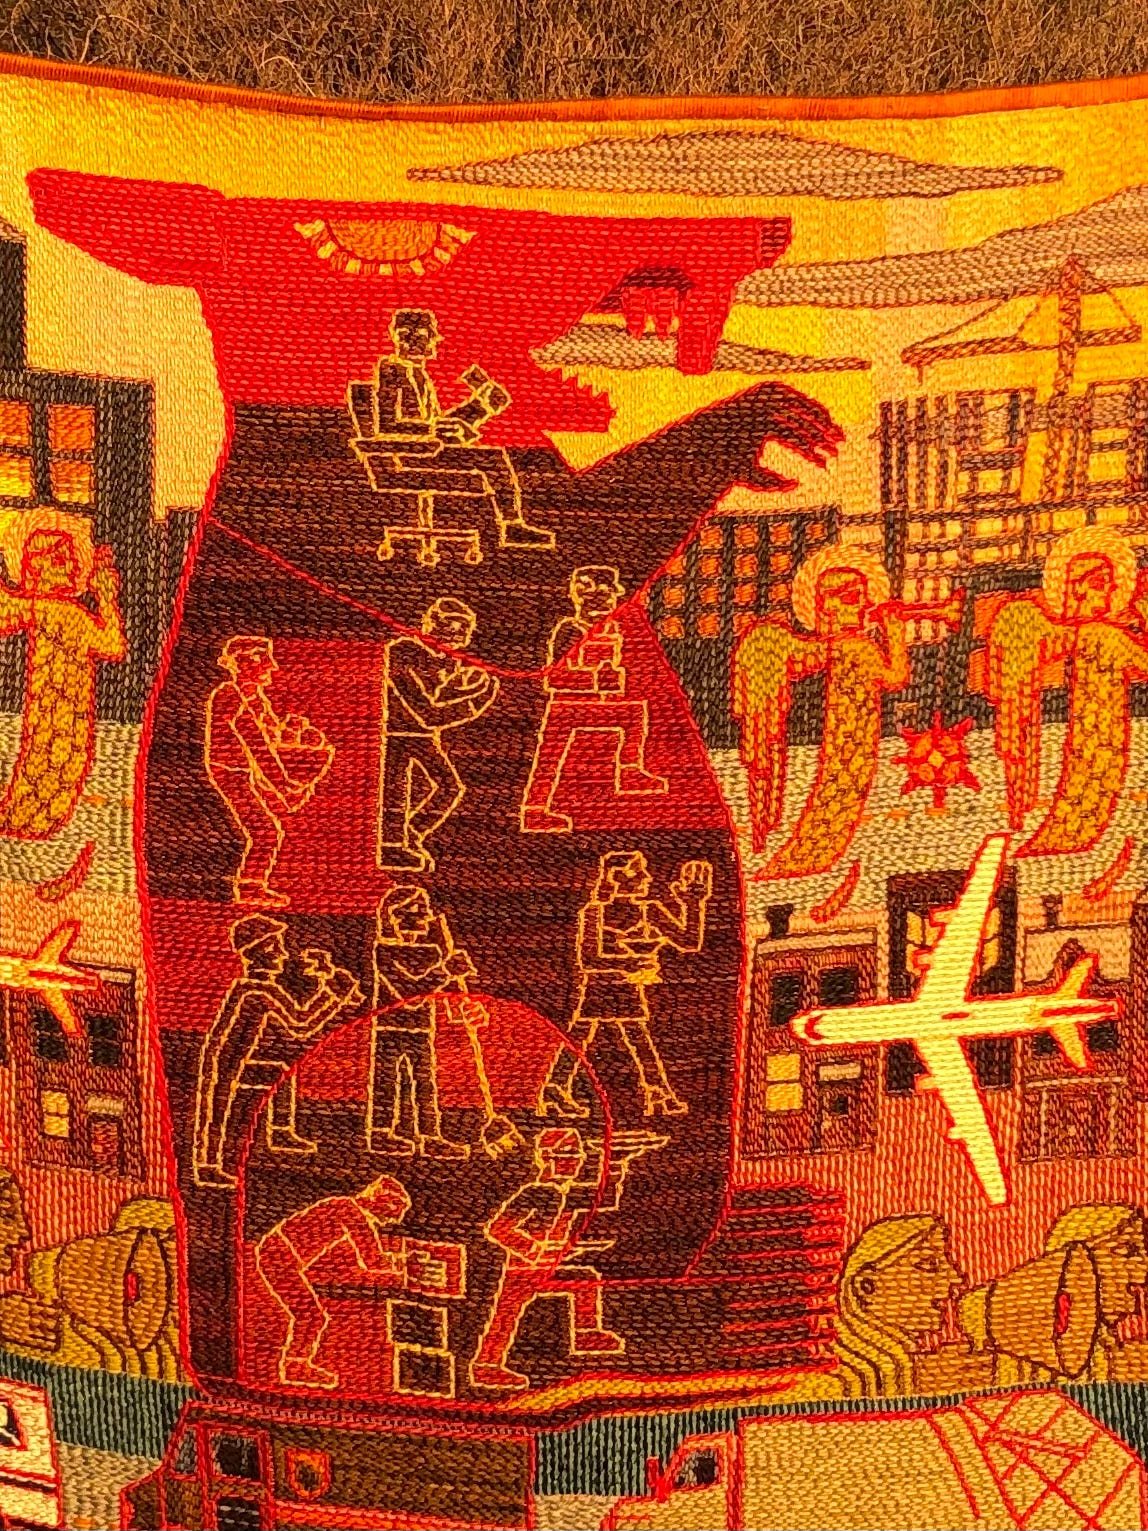
This was the way I discovered Malabrigo yarns. They were beautifully hand-dyed and spun, but not too expensive for me to buy a few skeins at a time. Moving from simple cotton to shiny, richly pigmented wool yarn made my palette even more exciting. I found so much joy in combining different colors and textures to see how they’d optically mix when I stood away from the canvas.
I’ve grown a large yarn stash over the years. I still use lots of Malabrigo, but some of my other favorites came to me through generous gifts, estate sales, thrift stores, and even sidewalk finds.
I’m always drawn to hand-dyed yarns with a lot of variation in color and texture. Anything that introduces surprise and chance into the work is exciting to me. I tend to collect tweed, merino, and silk blends. As long as it’s somewhere from sport to worsted weight, I can use it.
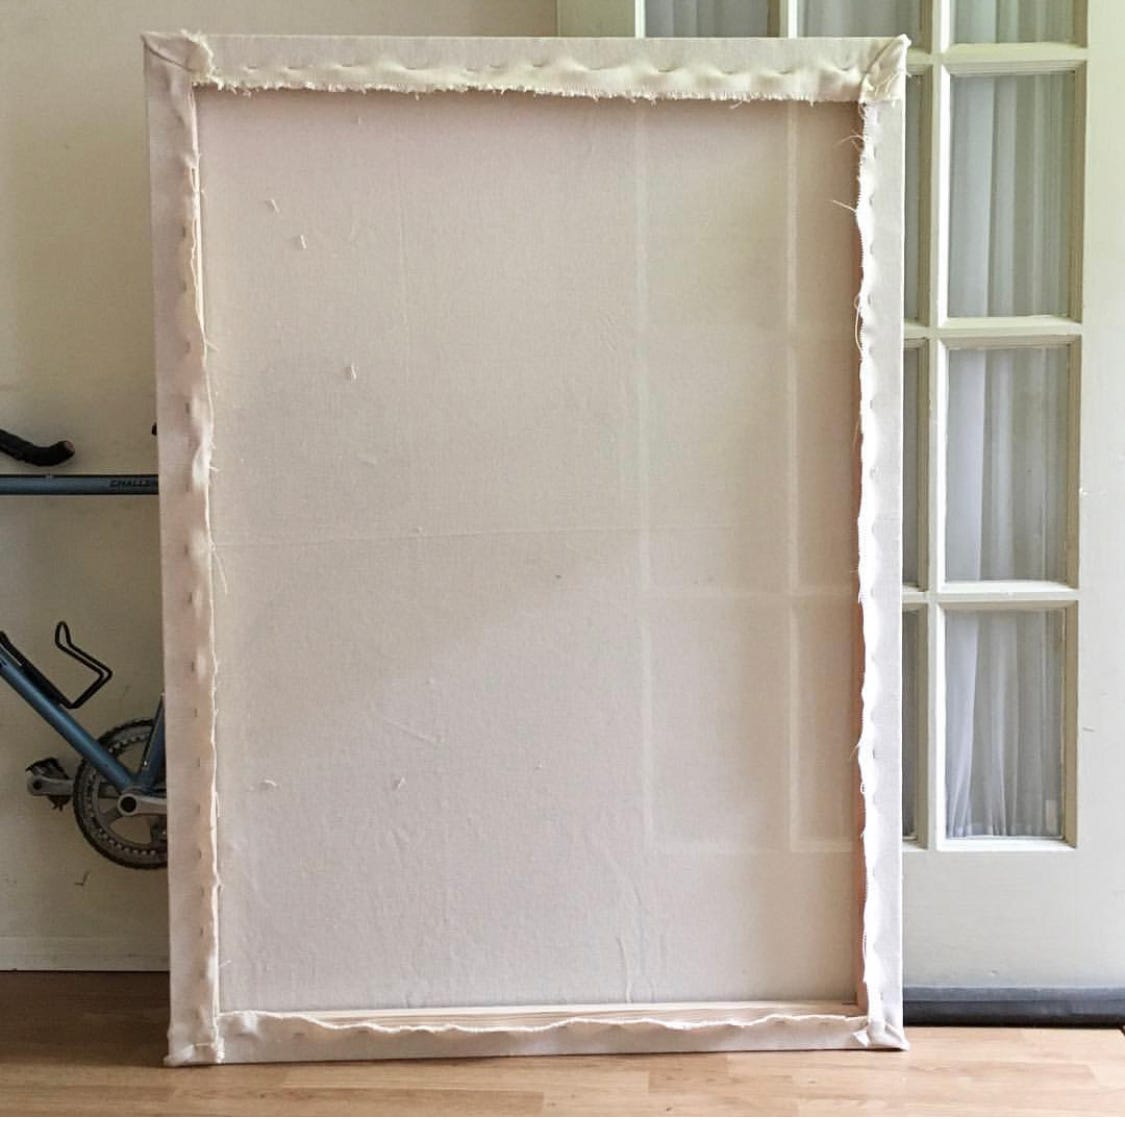
When I started weaving, I only had formal training as a painter, so I made my first loom out of canvas stretcher bars. I carved notches with a wood rasp to secure my warp threads. Later, when I began to explore punch needle, I was excited to find that I could use the same stretcher bars to brace a rug backing of Monk’s Cloth.
According to my first internet searches on the topic, Monk’s Cloth was the cheapest backing that was easy to source. It was great beginner’s material, but I had problems with the edges, which quickly frayed and fell apart once I cut the piece away from the frame. I learned how to whip-stitch a simple border to keep the rugs together.
When I discovered punch needle, it felt so much faster than tapestry weaving, but it was still a very labor-intensive process. I invested many dozens of hours into the first large pieces I made. The process was so meditative, though, that I didn't mind at all. If anything, I wanted to go even larger. I invested in bigger canvas bars and tougher backing—Rug Warp Cloth. The hours I spent on pieces stretched into the hundreds as I graduated to a scale as tall as myself.
Lately, I’m using an even better material: Linen Rug Backing. It’s honestly not much more expensive than Monk’s Cloth, but the difference in quality is striking. Linen is very sturdy and holds its shape once it’s cut off the frame. It’s easy to whip stitch the border with less fraying at the edges. I like to alternate between stitched borders and glued edges. Clear Elmer’s glue does the trick.
Working on a square surface tends to produce square objects. At first, I made rugs that hung flat on the wall with rectangular borders, and it bothered me to notice how much they looked like paintings. As I got deeper into the craft, I wanted to make something more sculptural.

While making work for my 2021 residency at Glen Foerd, I got inspired to make a piece in the shape of a goat hide as an homage to the leather industry of the era. I also tore flaps and holes out of the piece, thinking about how I might peel back the skin to reveal a bloody underbelly.
Do you ever have an existential crisis while you’re making something?
“Will this object outlive me? How long will it survive in a museum before the colors fade, the threads degrade, and everything falls apart? Does it matter?”
I started adding holes to the work when I encountered these thoughts.
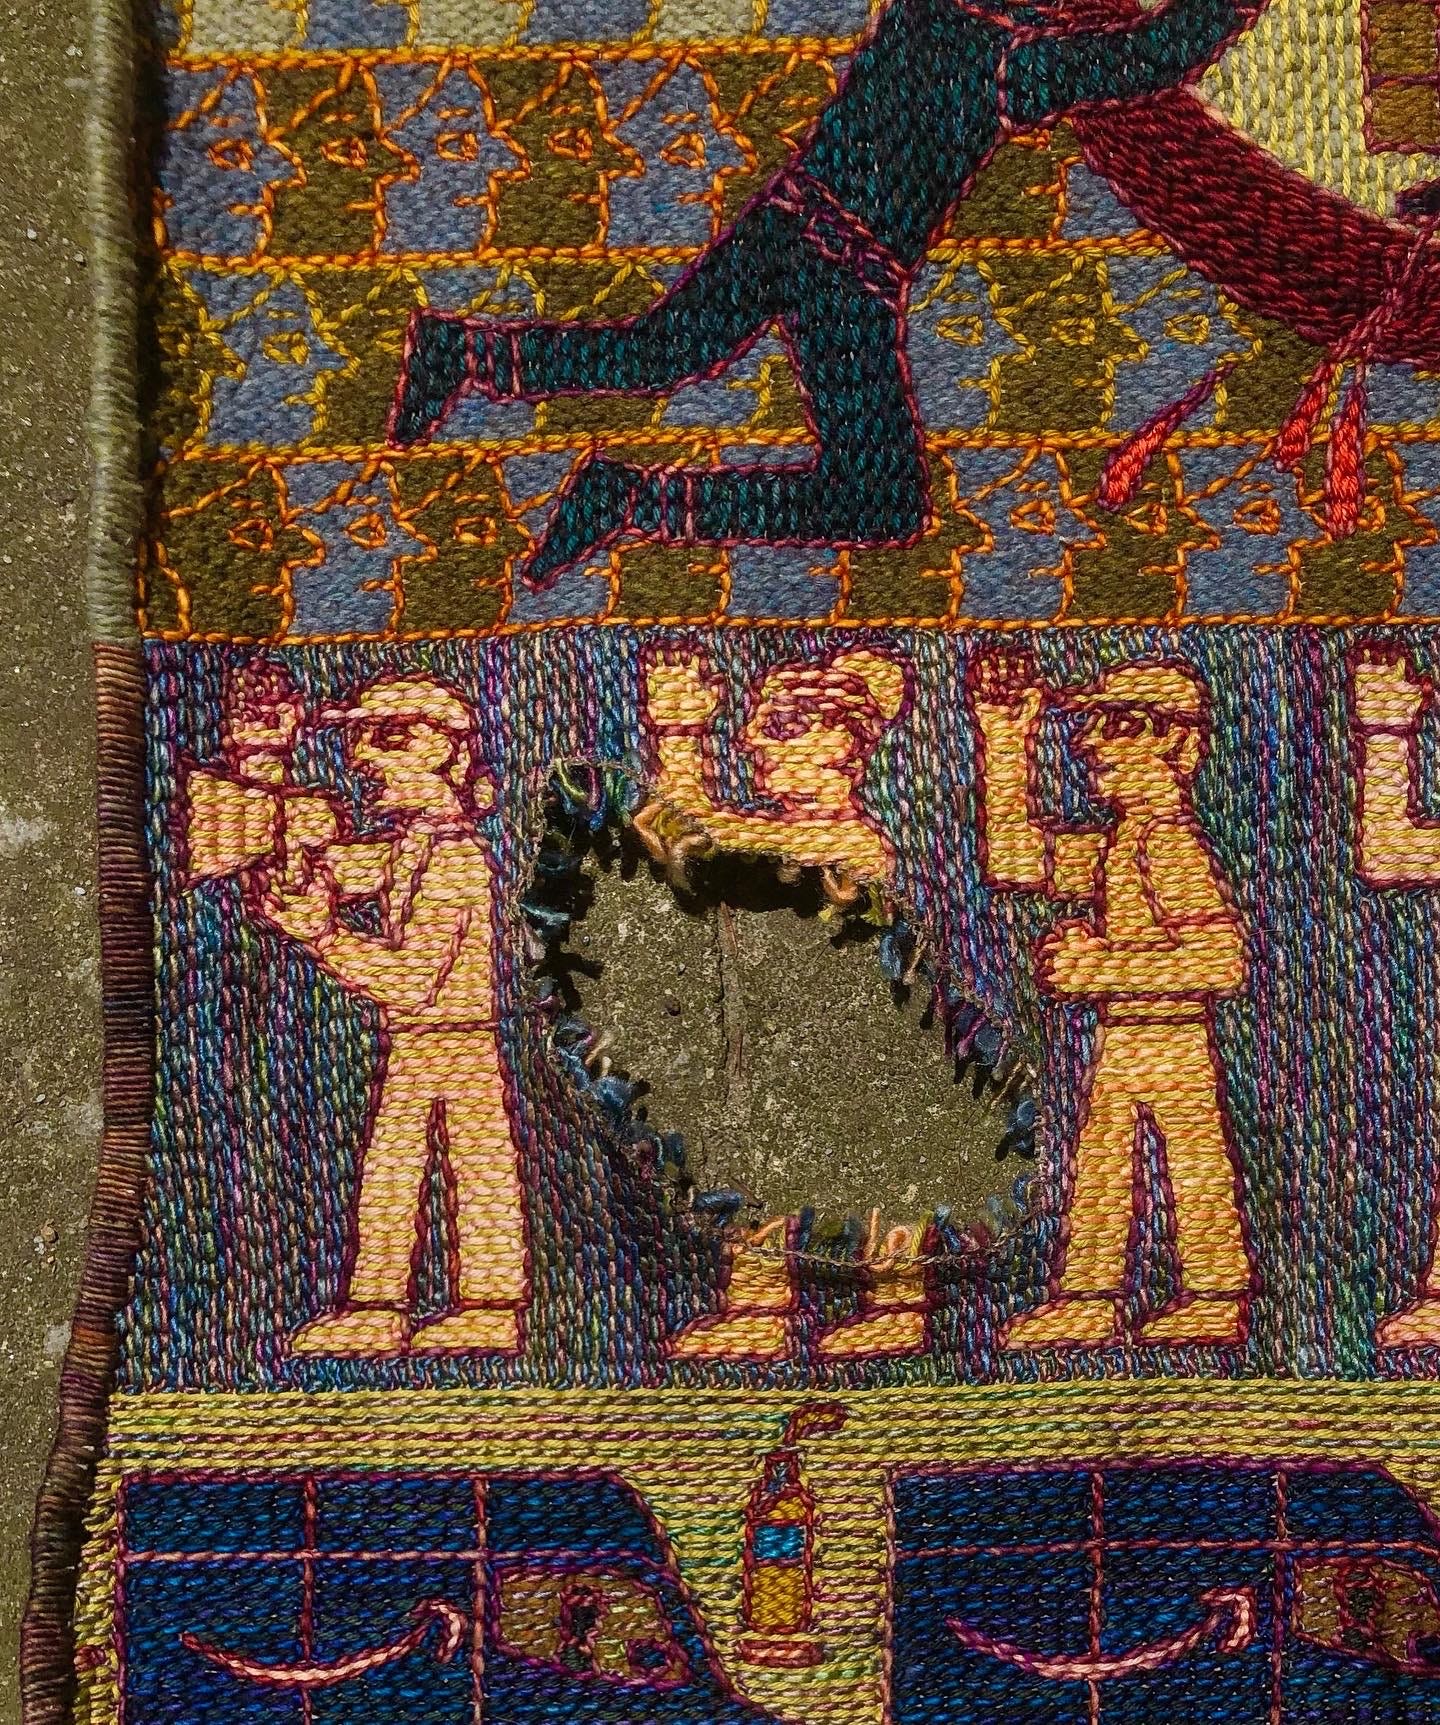
I love seeing the contrast between meticulously woven threads and ragged torn edges. That’s probably why I’ve always felt drawn to ancient textile fragments. There’s so much mystery in the tiny shred left over from an ancient tapestry; so many questions about the history we’ve lost, and the narratives we’ve stitched together from the pieces that remain.
What will my pieces look like in a hundred years? That’s a question for conservators and museums. For now, I use the sturdiest materials I can, while leaving room for experimentation and following whatever makes me curious. The process is ever-evolving and I’m excited to see where it takes me.
_______
Thanks for reading!
If you’re interested in learning more about my practice, I have a virtual talk and Q&A coming up. Watch me on Textiles & Tea on November 1, 4:00-5:00 PM EST.
Click to RSVP:
from Hacker News https://ift.tt/ERGLoIT
No comments:
Post a Comment
Note: Only a member of this blog may post a comment.