Auto Xylophone with homemade solenoids
Idea
- I used to hate electromagnetism so I decided to build a project involving the topic to get better at.
- I also wanted to apply Artificial Intelligence in a project that combines hardware and software.
How it works
I'll talk more about the circuit in the electronic section.
I did this project with an existant librairy (MIDI) but my goal is to include AI in a way to recognize music notes and send a JSON-like or 2D-array with (notes, timing...) to arduino and have it play directly.
Trial and erros
The main idea of the electric part is the solenoids, buying 24 Solenoids is quite expensive so I decided to make my own also its more fun and will help me better understand electromagnets. The math behind Electromagnet is quit tricky so I used the trial and error approach until I arrived to a result that Im satisfied with.
Afer trying many desings and nail sizes, I was satisfied with sounds made by a 2 ohm solenoid 28mm length , 26 AWG.
Solenoids
3D-printing
Once decided on the paramters of my custom solenoid I was thinking about 3D printing the body of the solenoid and its support but unfortuanly the printing failed and I just moved to an other solution but eventually the initial desing was just right and with the help of a MechEng. friend Malak he fixed some printing settings and it works fine. But was late :/
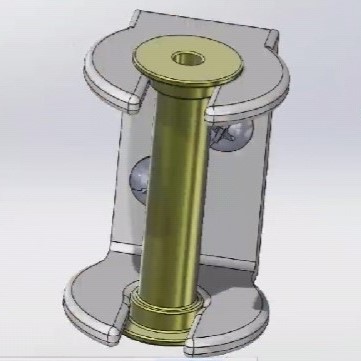
SolidWords
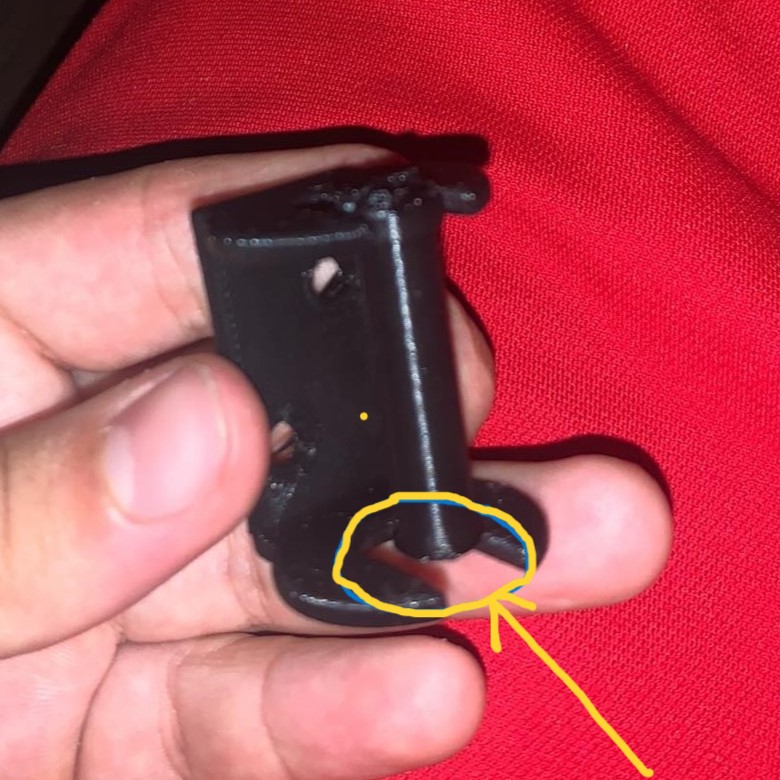
Failed printing.
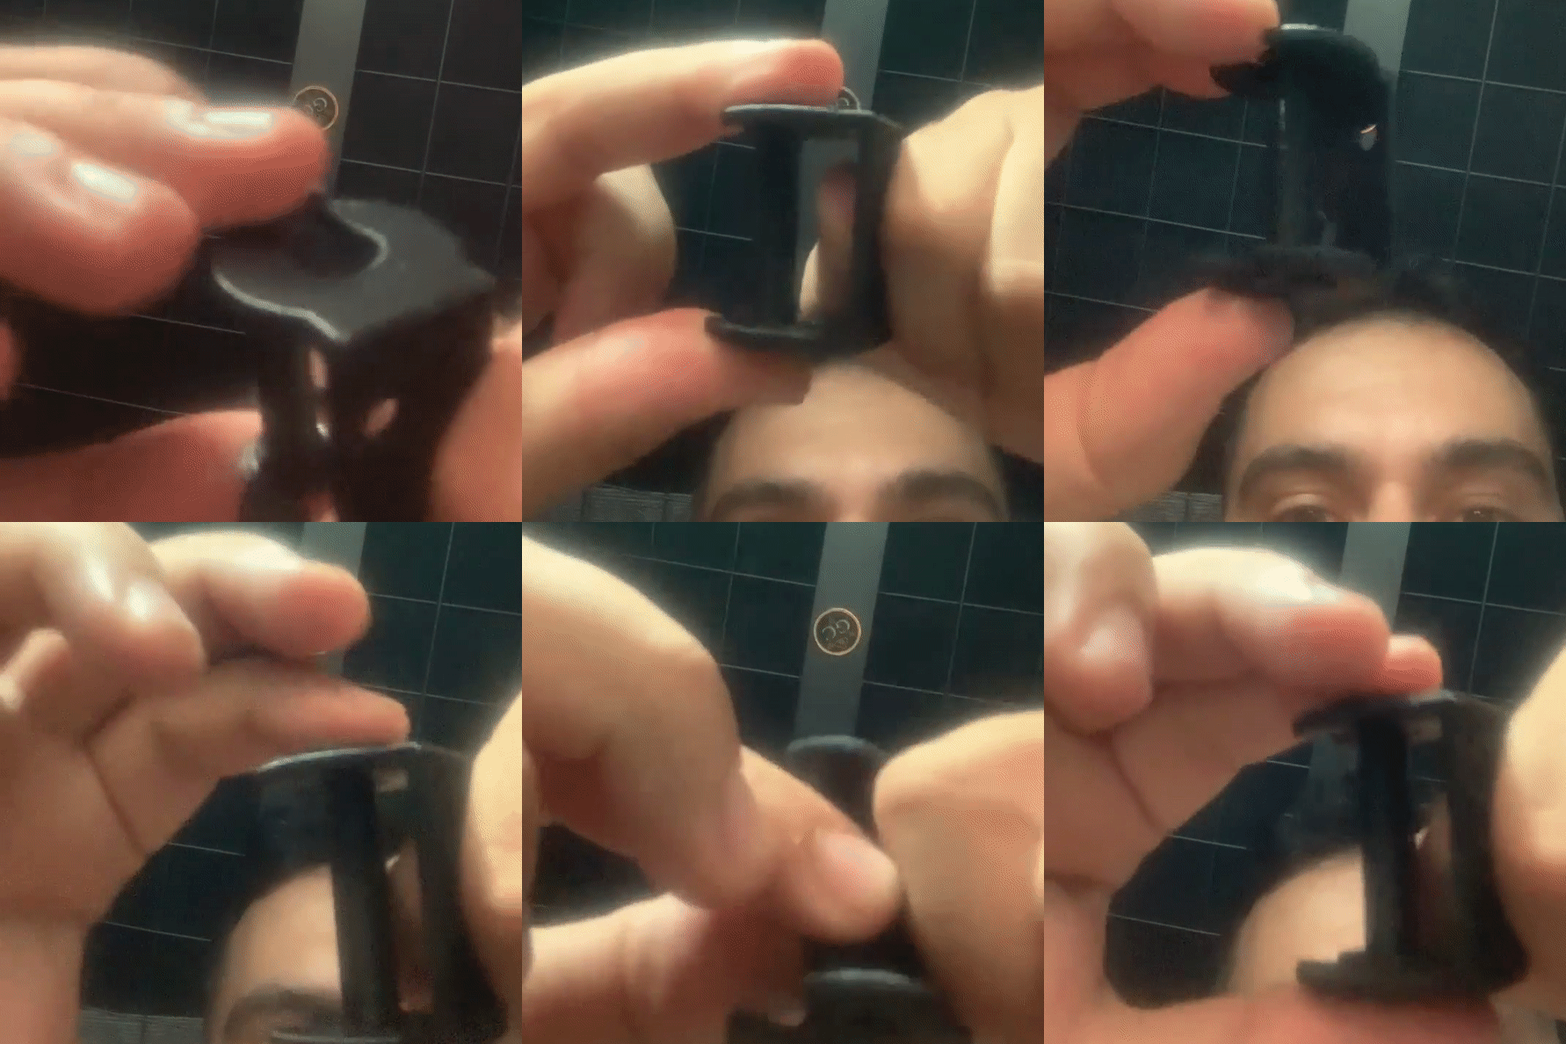
After some adjustement.
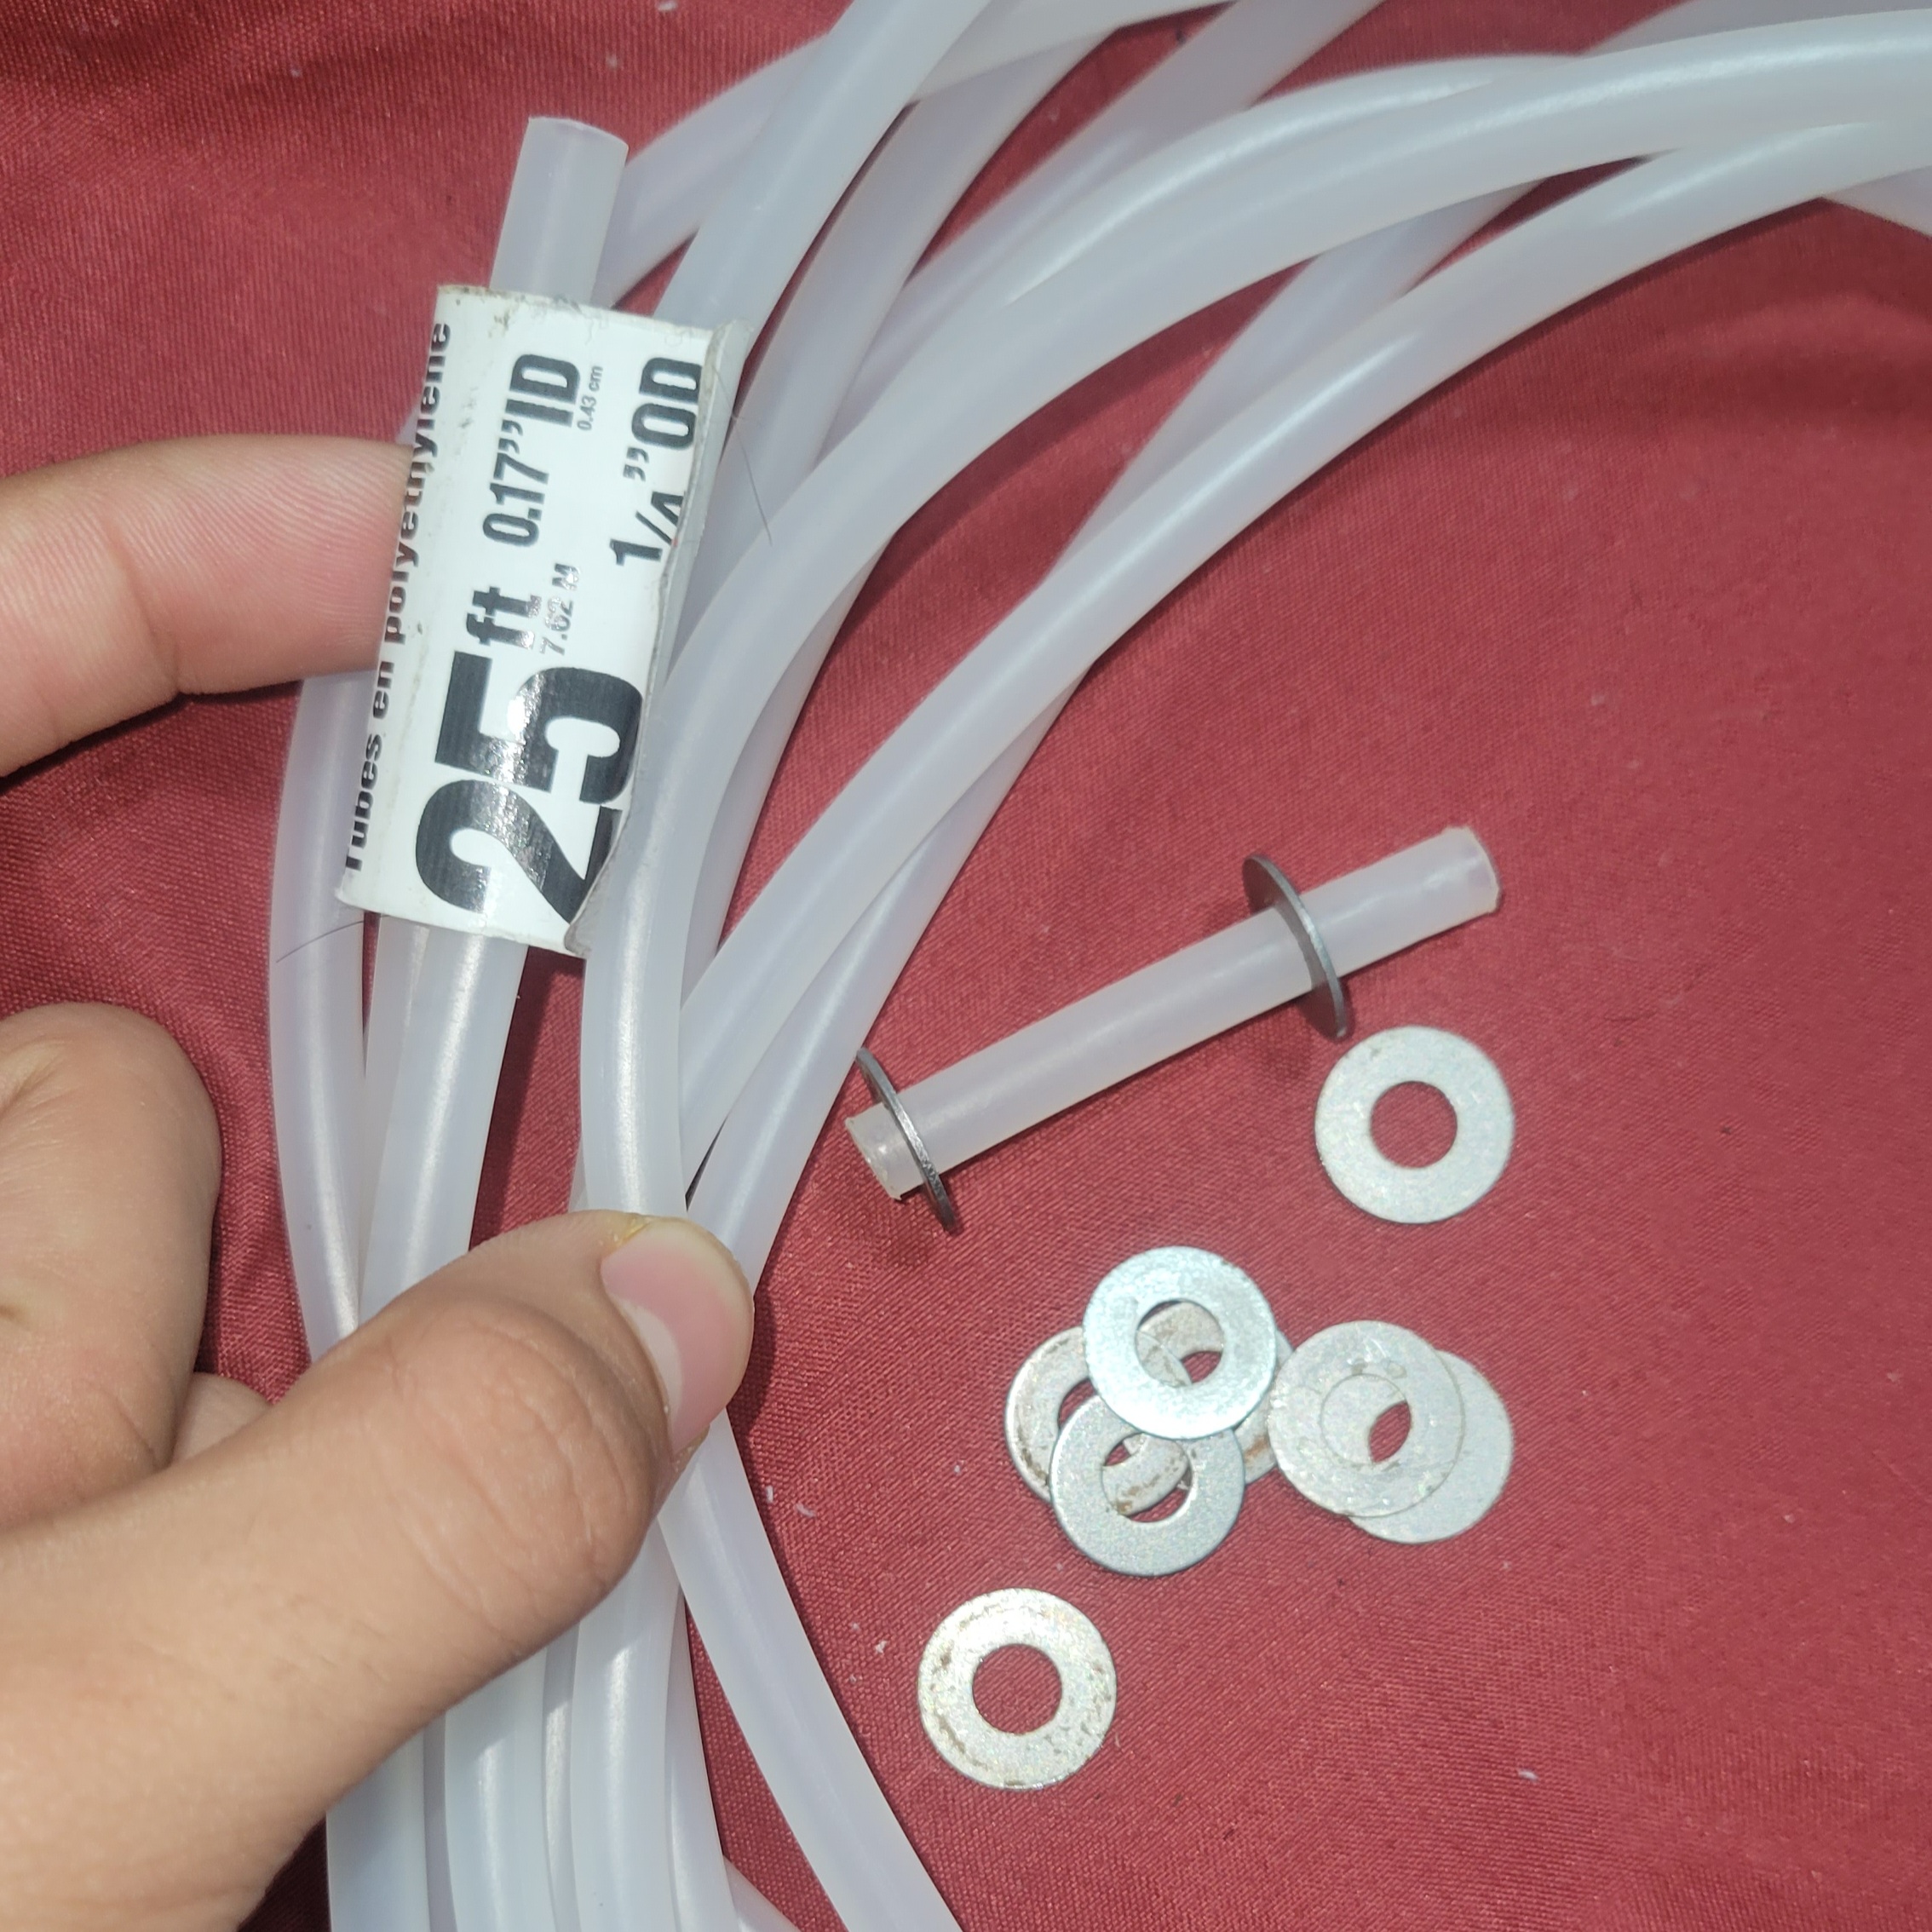
Tube + Washers.
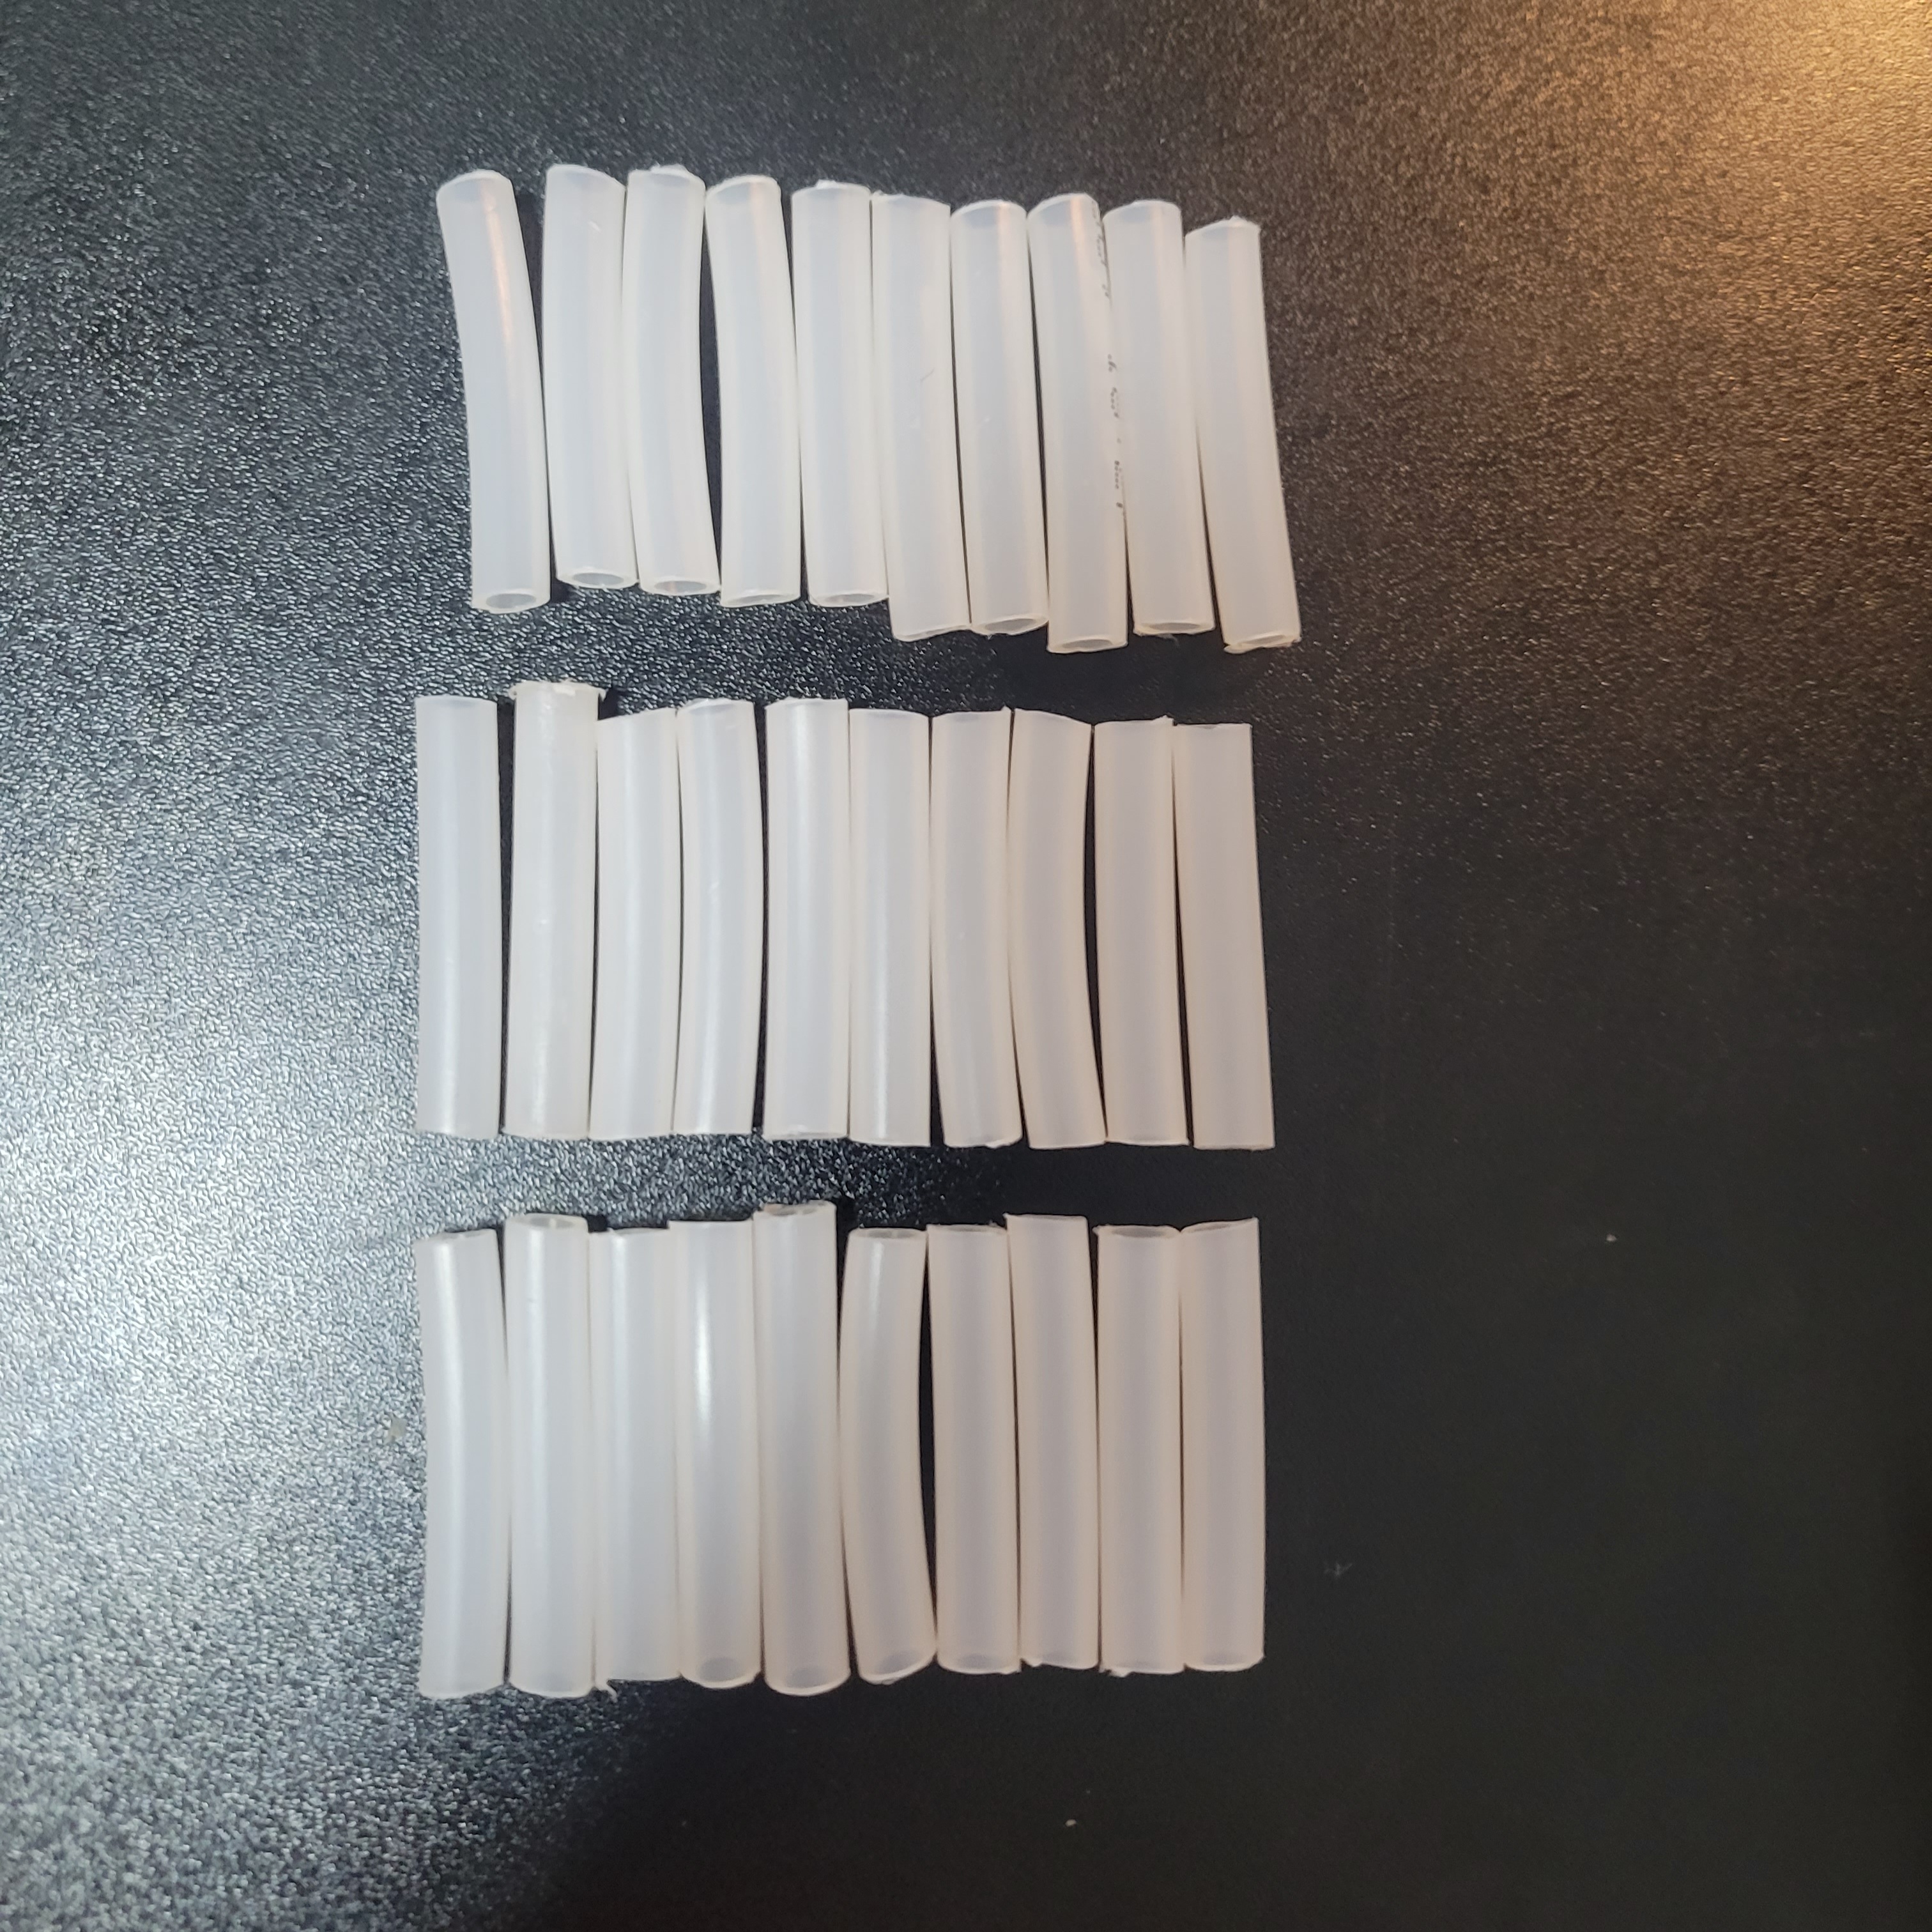
Cutting the tube.
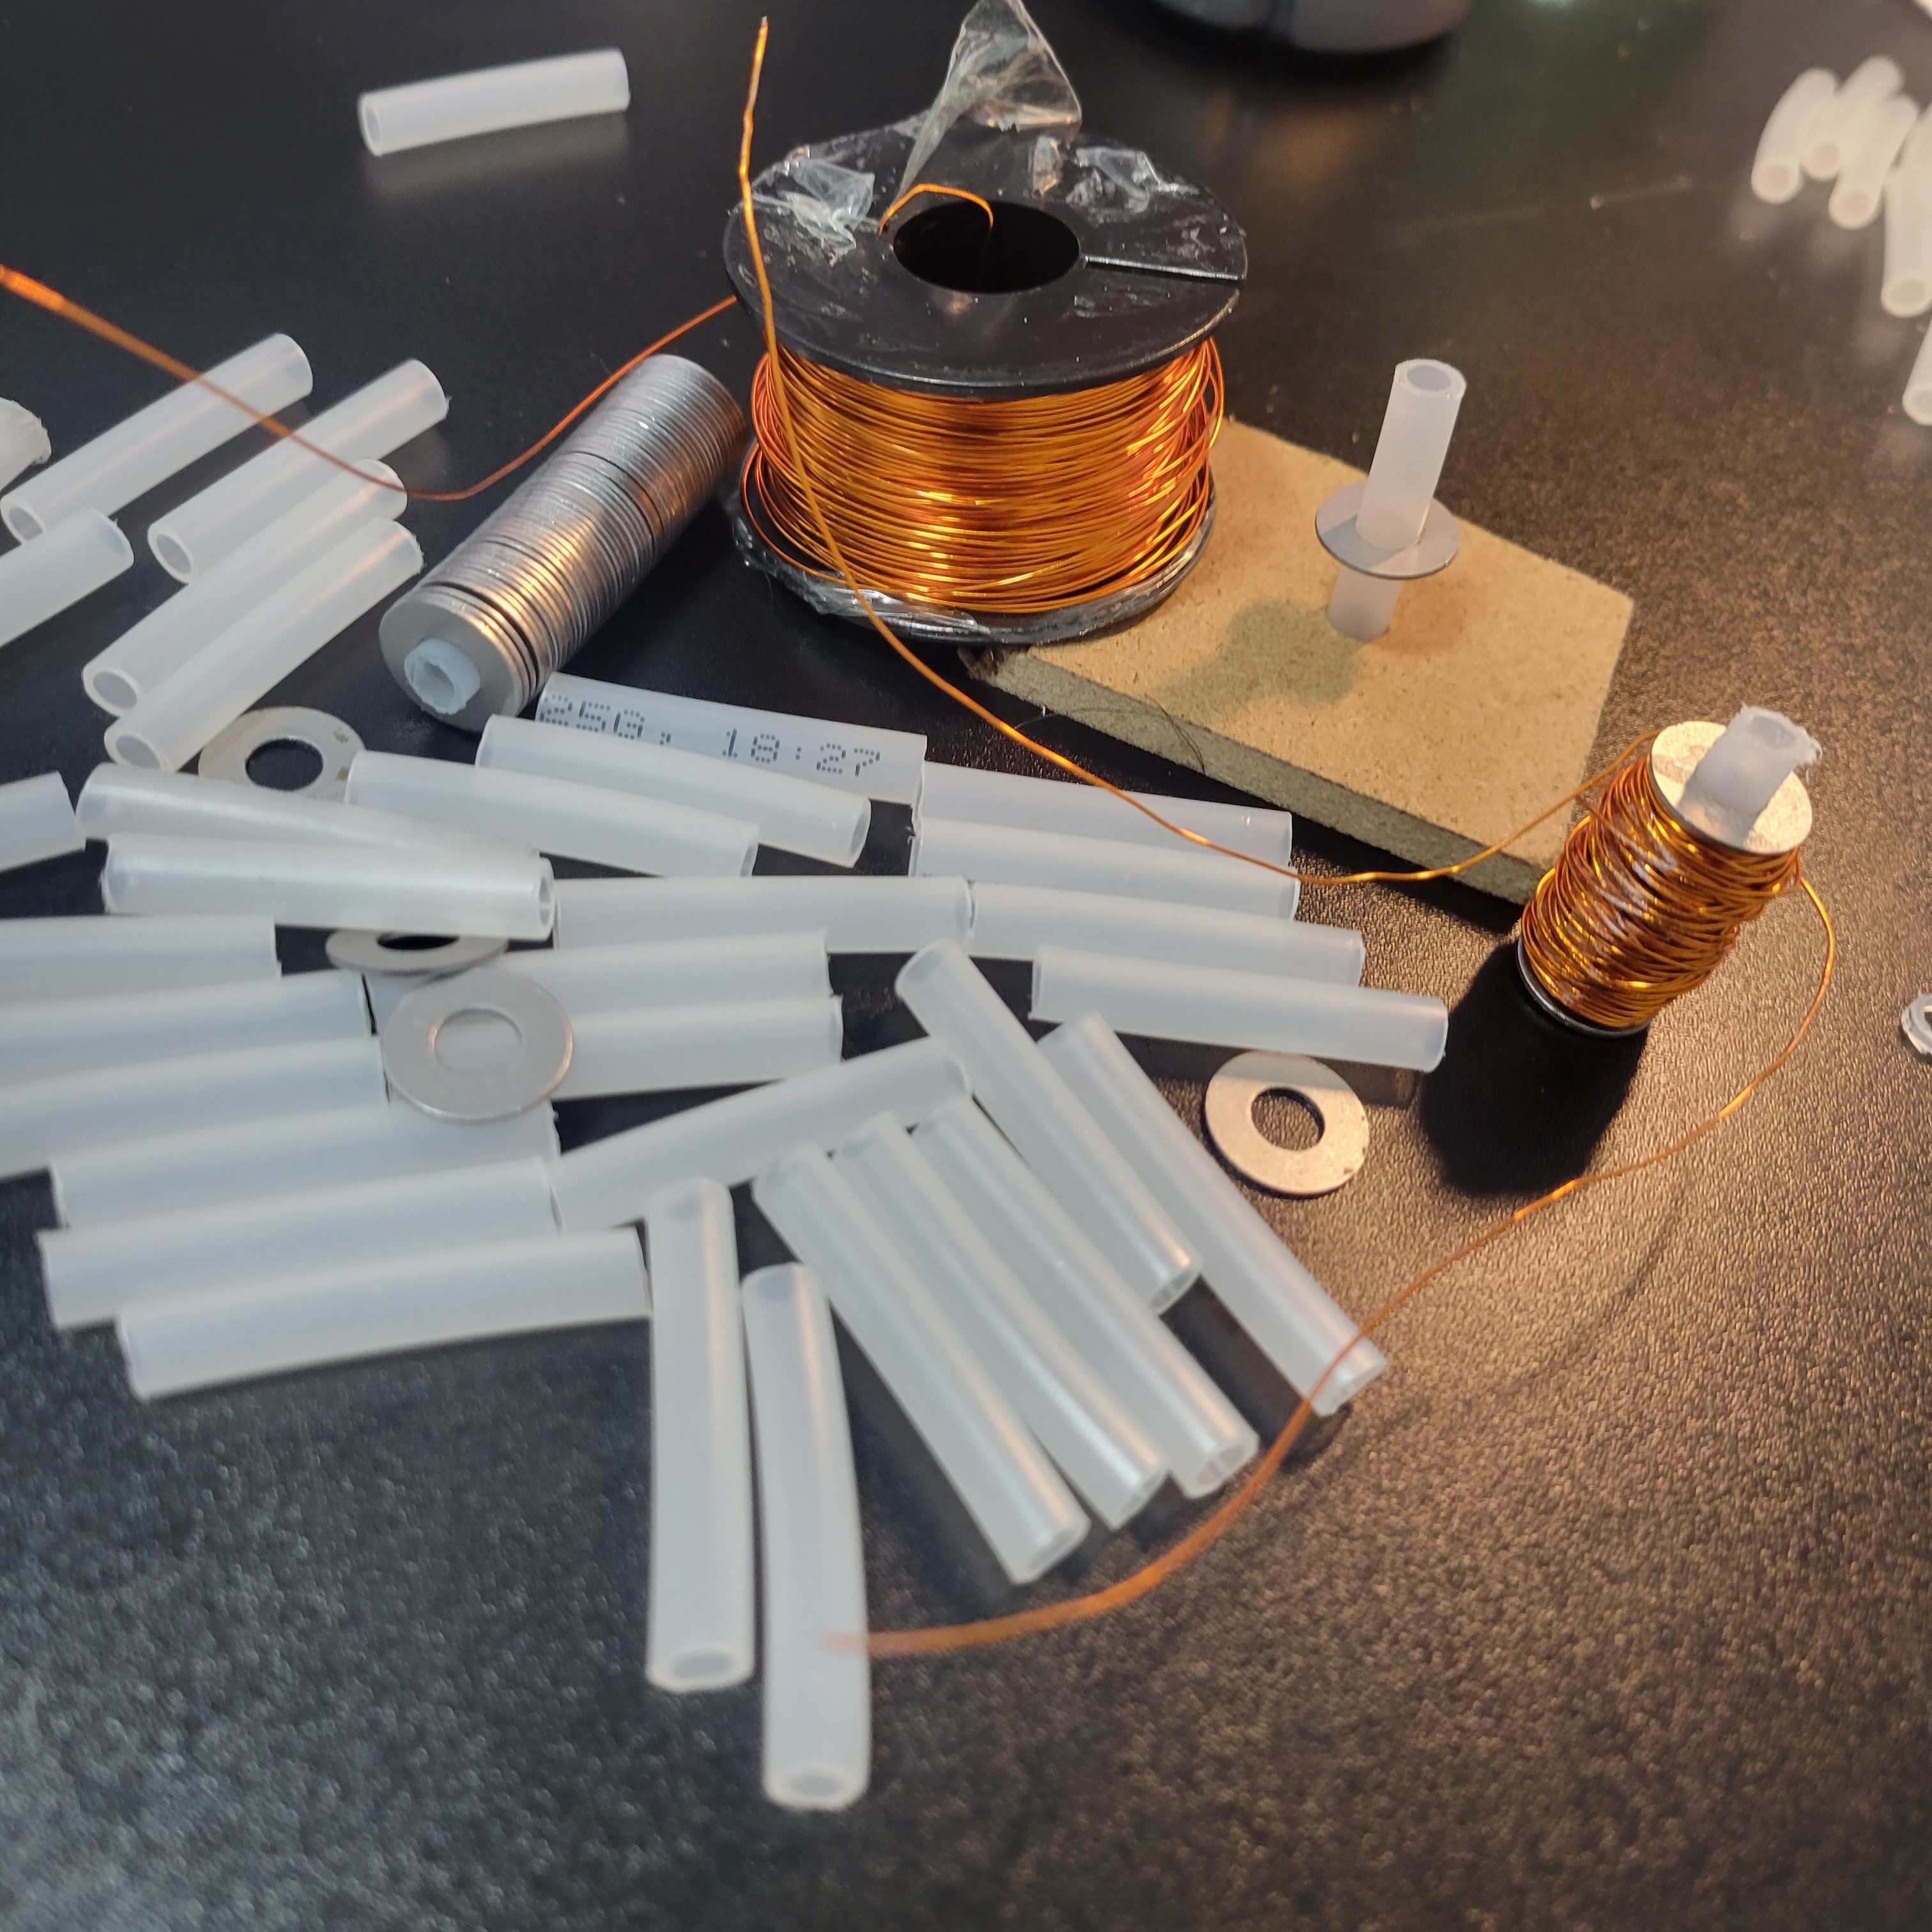
one done 24 to go.
I used hair straightener to melt the glue, it is better than glue gun as it offers an entire surface of glue so it makes the process easier and faster.
- Counting the number of turns for each solenoid is very hard, so:
400 turns gave me ~2oHm so I counted number of turns in 5s. and then 400/(X-turns/5s.)=Y-seconds. - I also got very lucky and the width of the washer matches perfectly the thickness of the wrappped coil required to get 2ohm, so it was a very good visual indication without bothering about timing.
I did a hole on the wood and Im using it as a support of the solenoids, it holds very good! and finally its more straightforward than the 3d printing desing.
The Frame
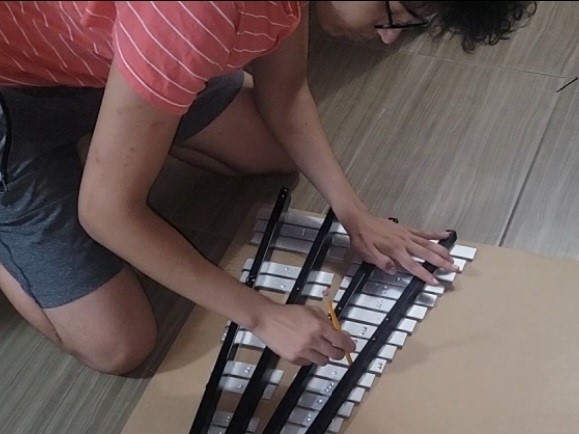
drawing the Xylophone body.
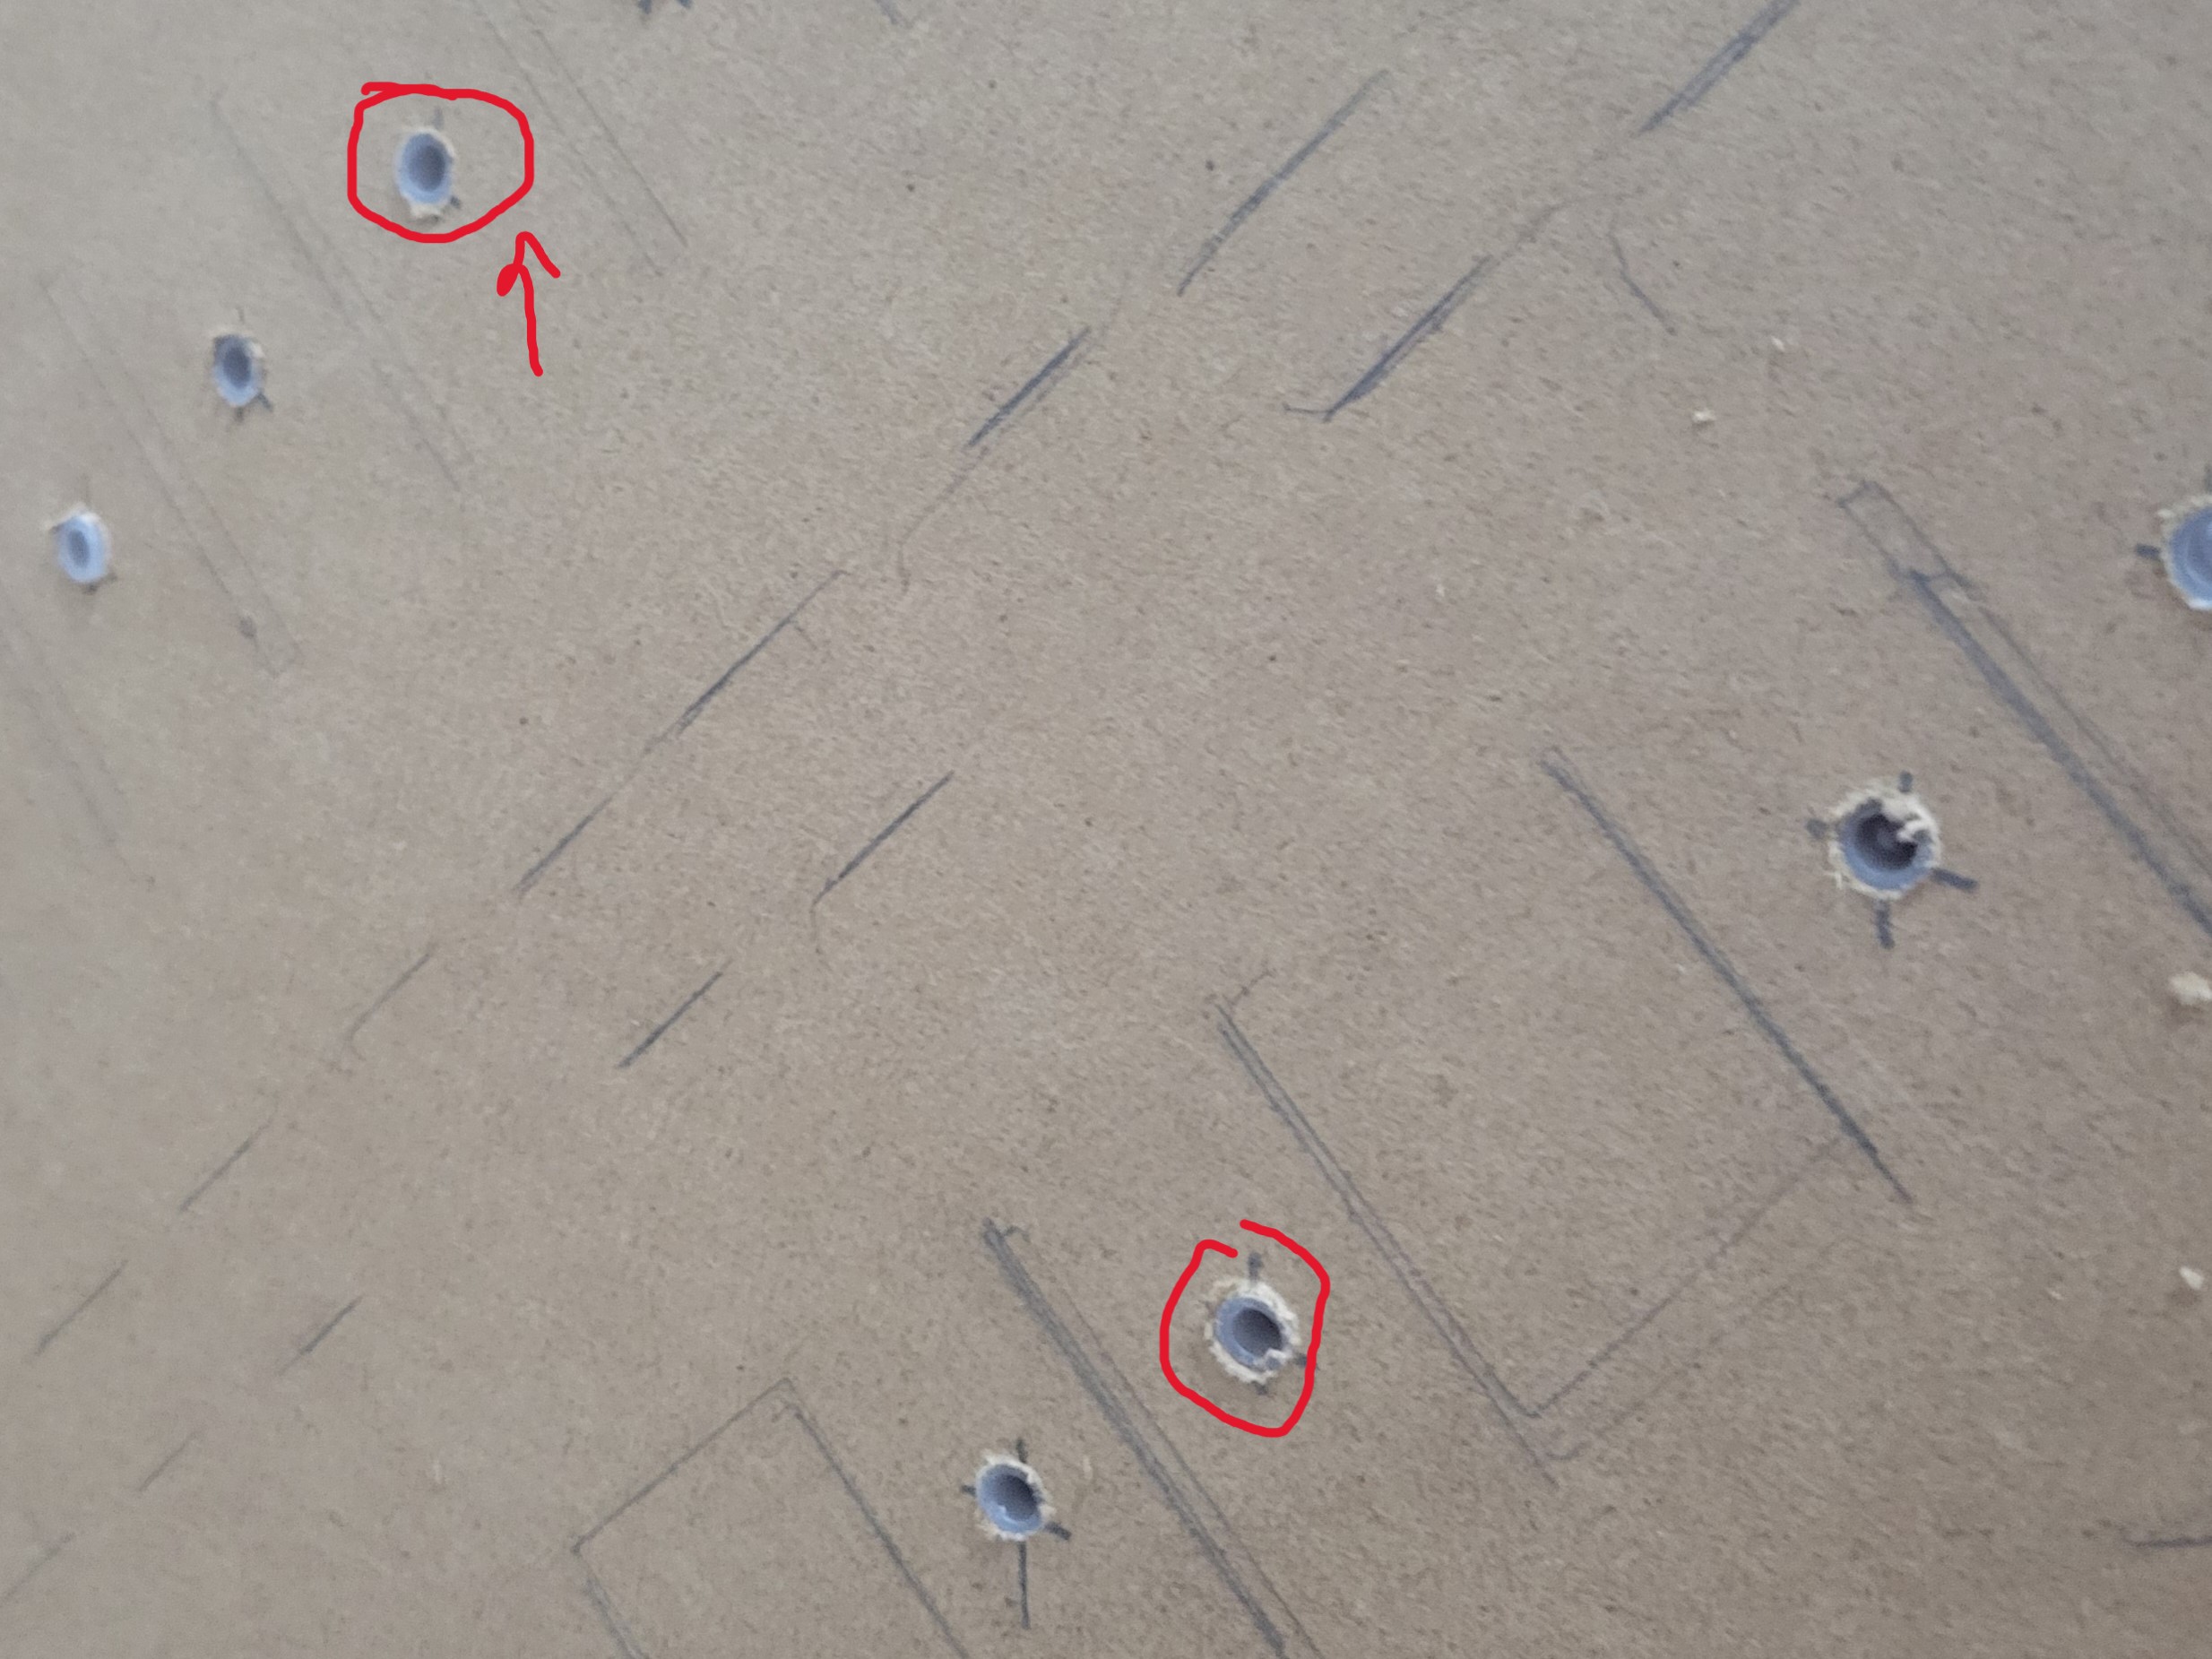
Putting all solenoids.
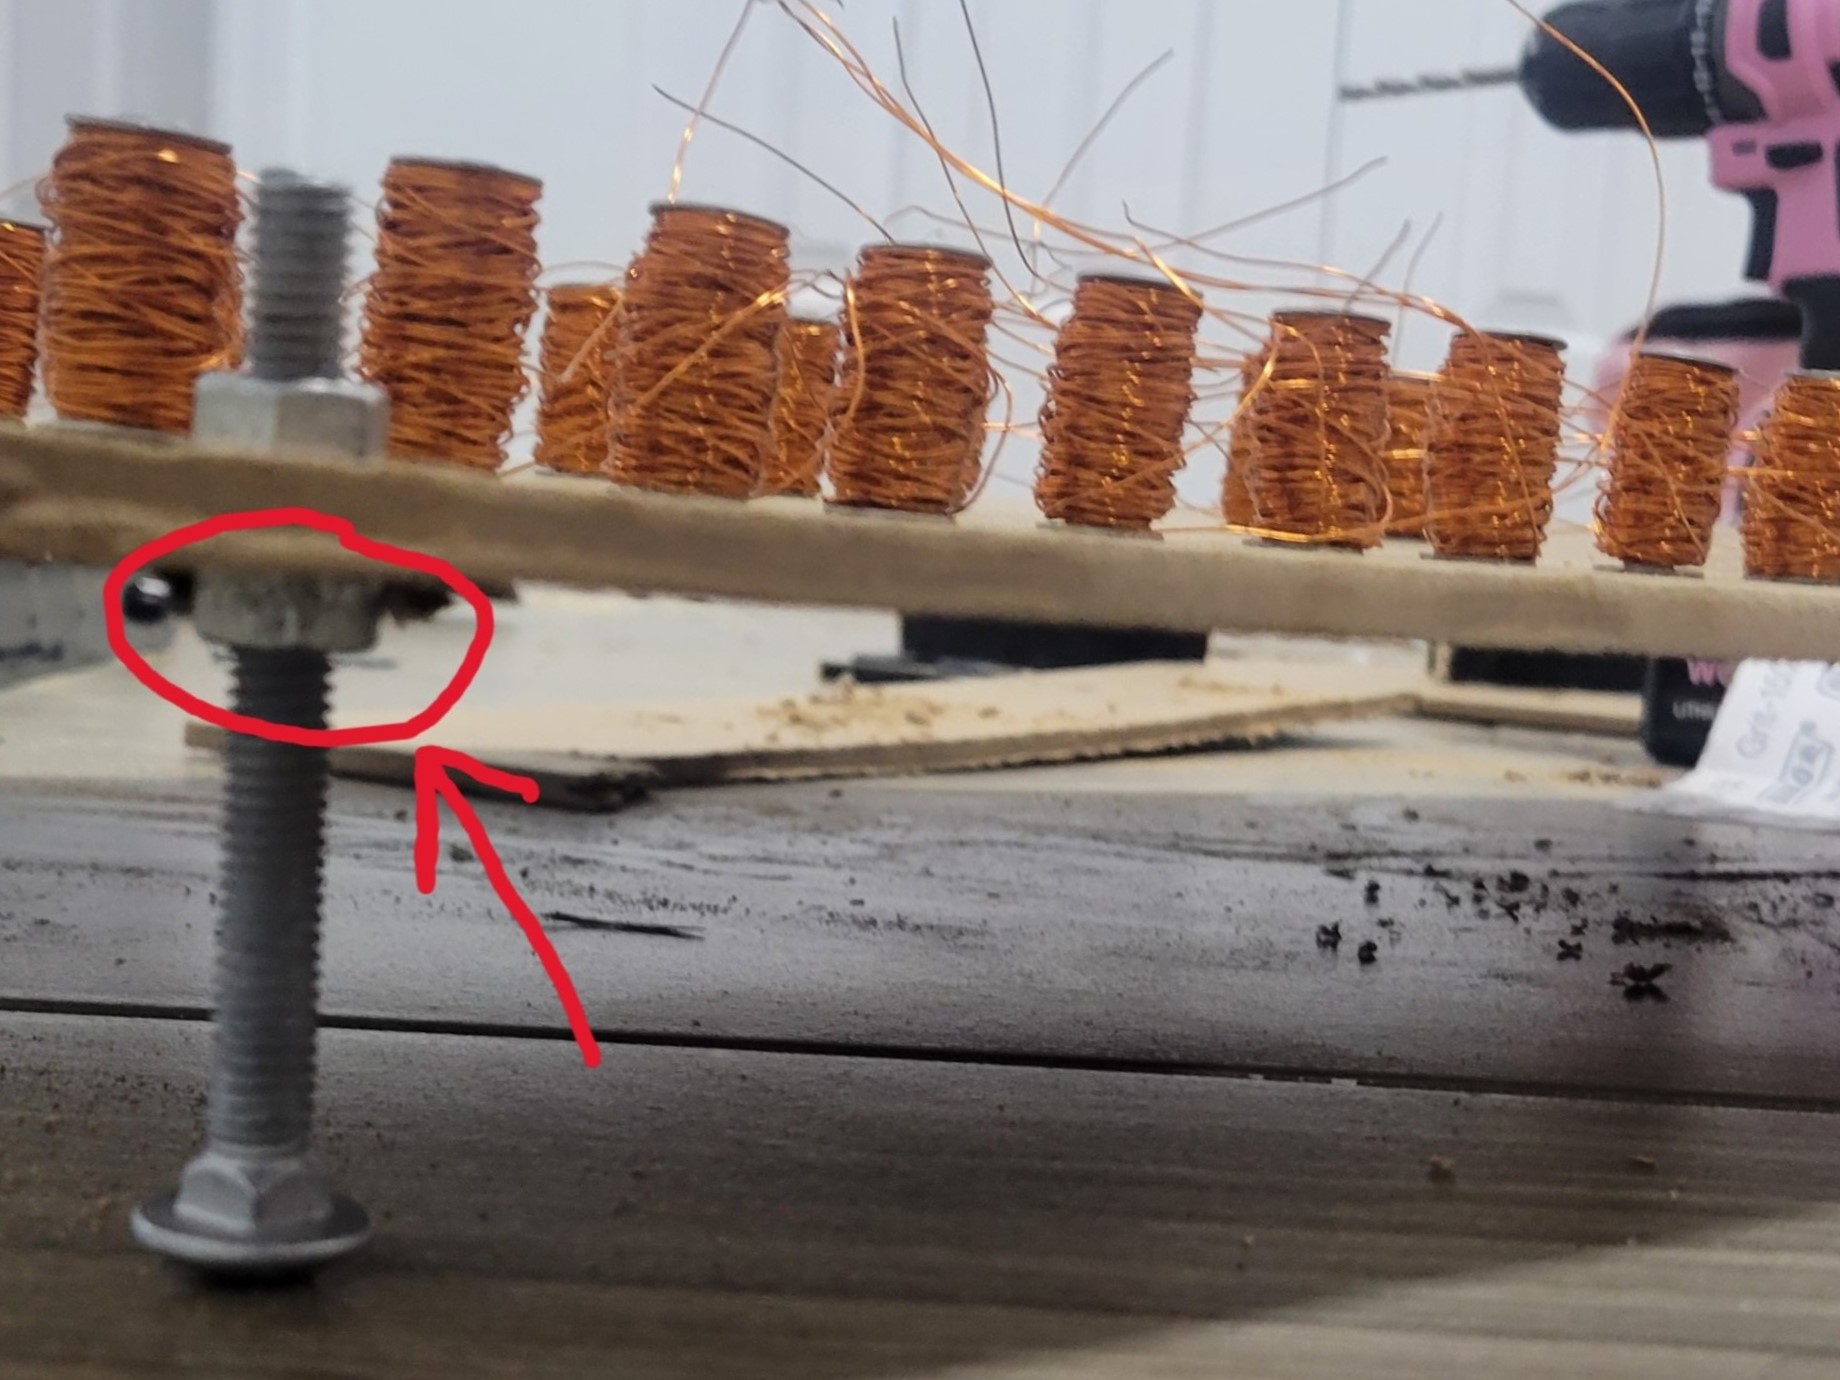
Adjustable height.
Quick note
Adding a permanent magnet in the top can drasticly increase the force with the same electric power but I didn't used it because:
- The washers I have are made of metal => (magnet+nail) gonna be stuck there.
- Hitting the xylophone with a point (nail) is better than a surface (magnet). because the surface can block the vibration of the xylophone (very minimal effect tho!)
- And most importanly Its works just fine without as Im using very high current source (5Amps).
Electronic part
Arduino's current output at its digitals pins is ~40mA (I need ~1.2A to power one solenoid) and Im looking to power 4 solenoids at the same time so I need a 5A external power and therefore I had to use switches: I ruled out Relays as they are mechanics and the click noise is audible additionally they aren't designed for lot of ON/OFFs.
BJTs vs MOSFETs
I went with TIP-120 NPN transistors, many reditors advised me to go with MOSFETS instead to reduce the voltage loss & the heat, but MOSFETS are also 3 times expensive than BJTs + didn't want to wait for shipping.
If it work don't touch it
Comming from a software background I used to work by "if it works don't touch it" so I decided to ignore the Back-EMF generated by Soelenoids and to not use Diods to block it becauses it worked just fine without it.
What happened is I was using a relatively small current in the beginning but when I got the PSU (5A / 3~12V) and tried the full load some transistors got burned :).
Final circuit
I run into some difficulties on that part. Luckely I had a roommate David Deng from McGill with good electronic background, he was in Vancouver for his Amazon internship and we worked together on the circuit.
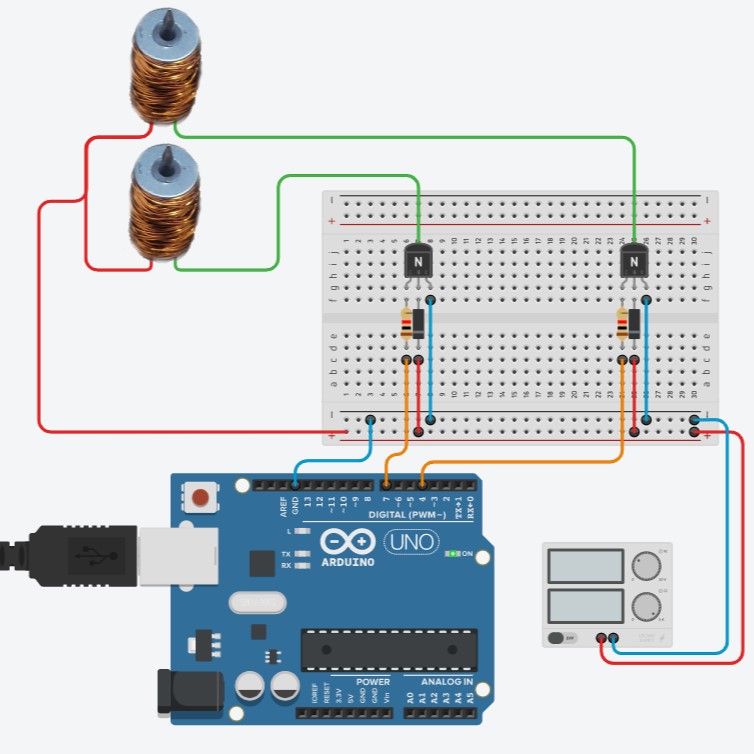
That's a simplified illustration of wiring made with TinkerCad.

We connected one end of solenoids to that cable.
-Idea: (+) end is always connected and (-) end will be closed once the transistors got the Arduino signal.
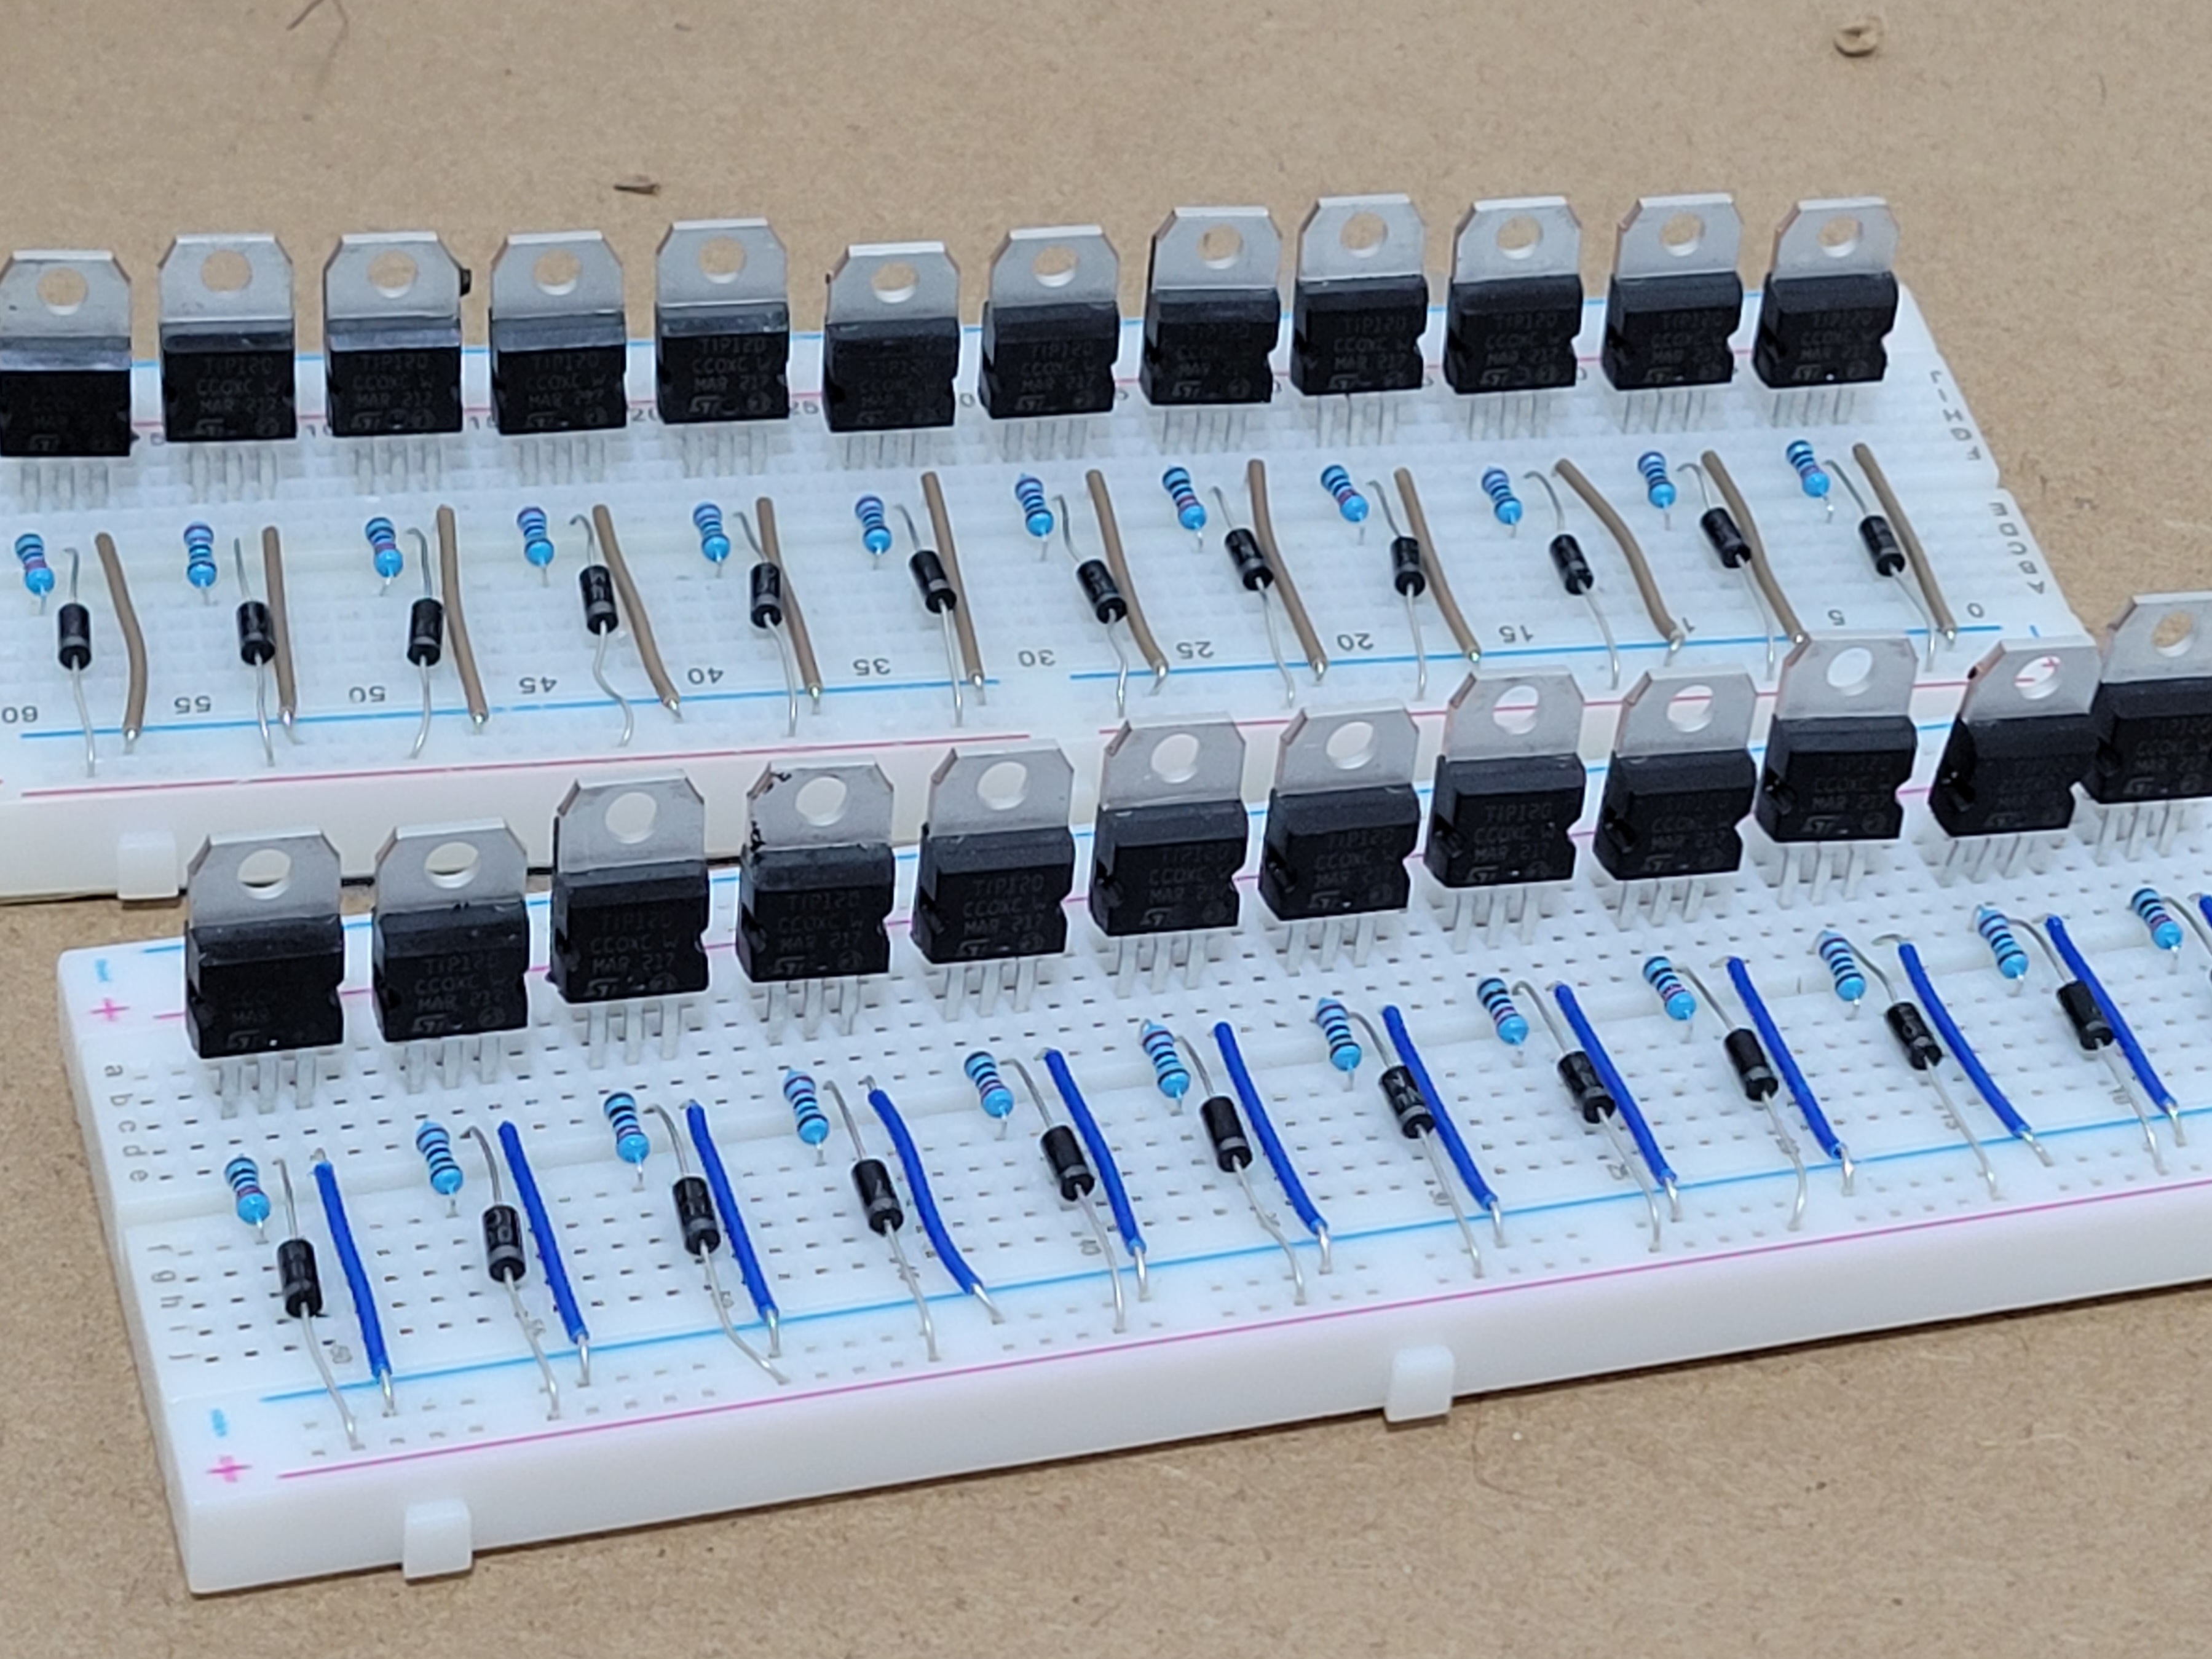
Putting electronic components in the bredbords.
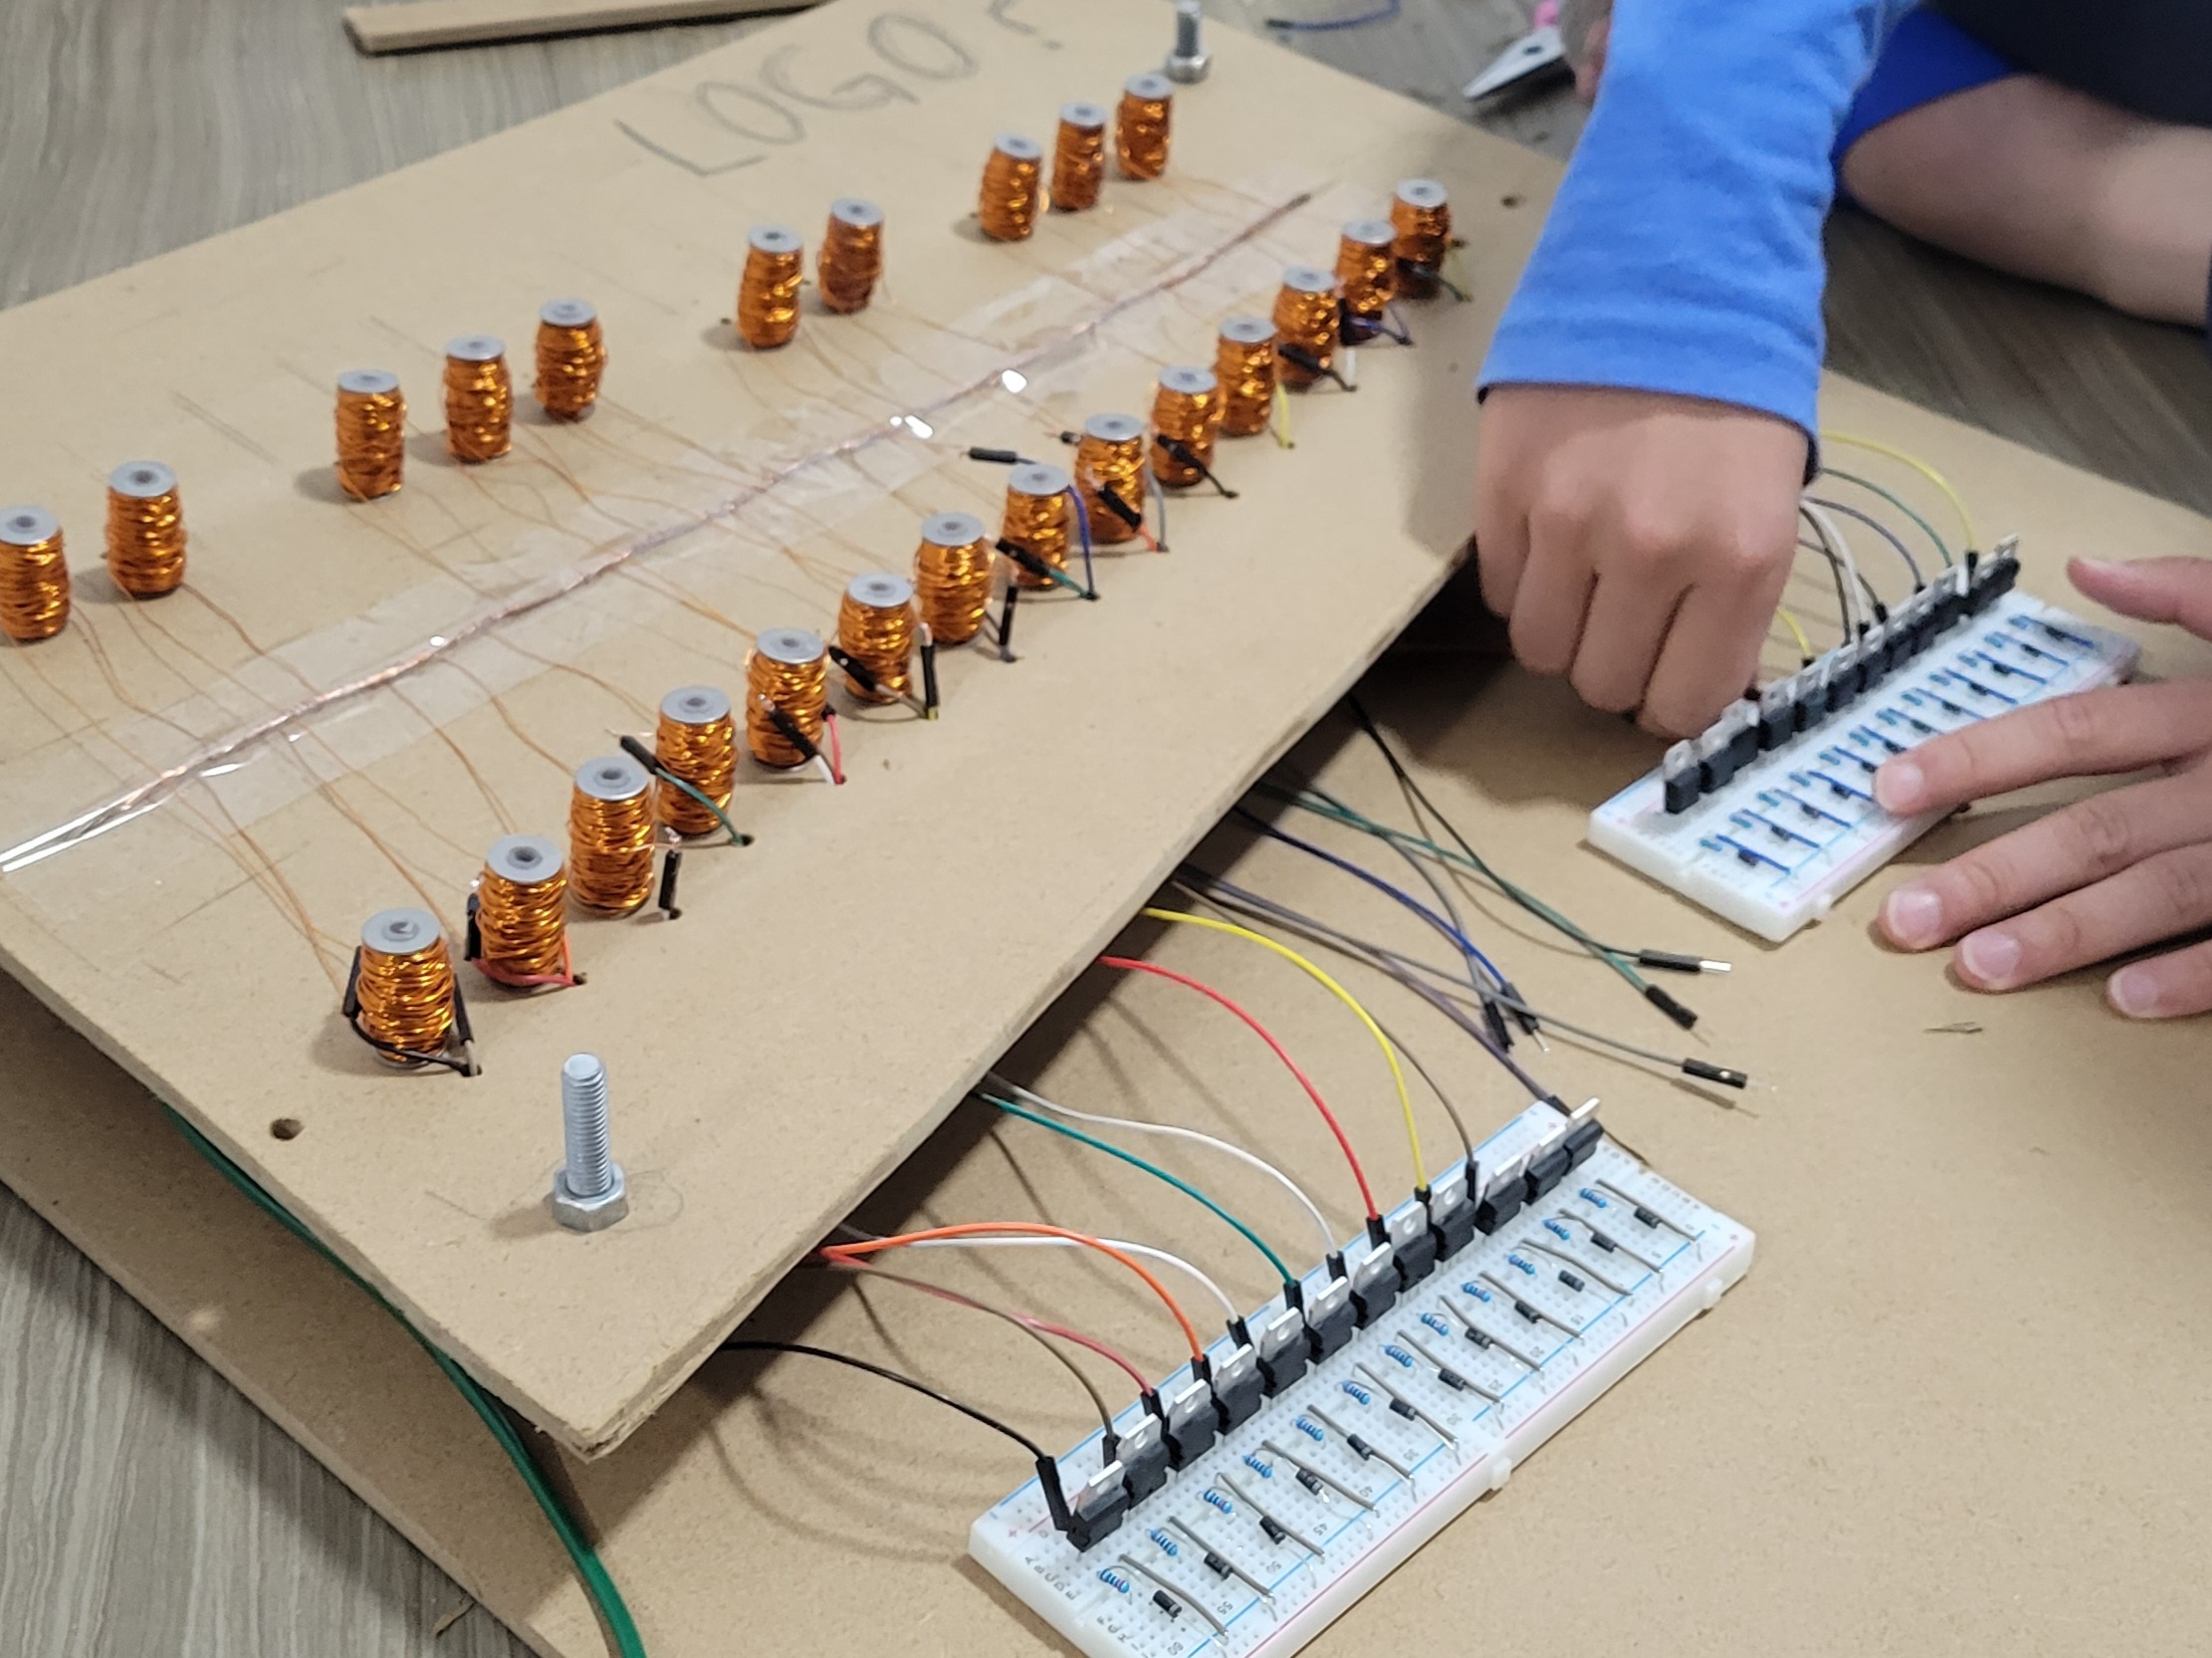
We connected the other end of each solenoid to the breadboard, for the solenoids on the back row I put their coils in the front row to ease cabling.
Testing
Simple code to loop trough all the Solenoids.
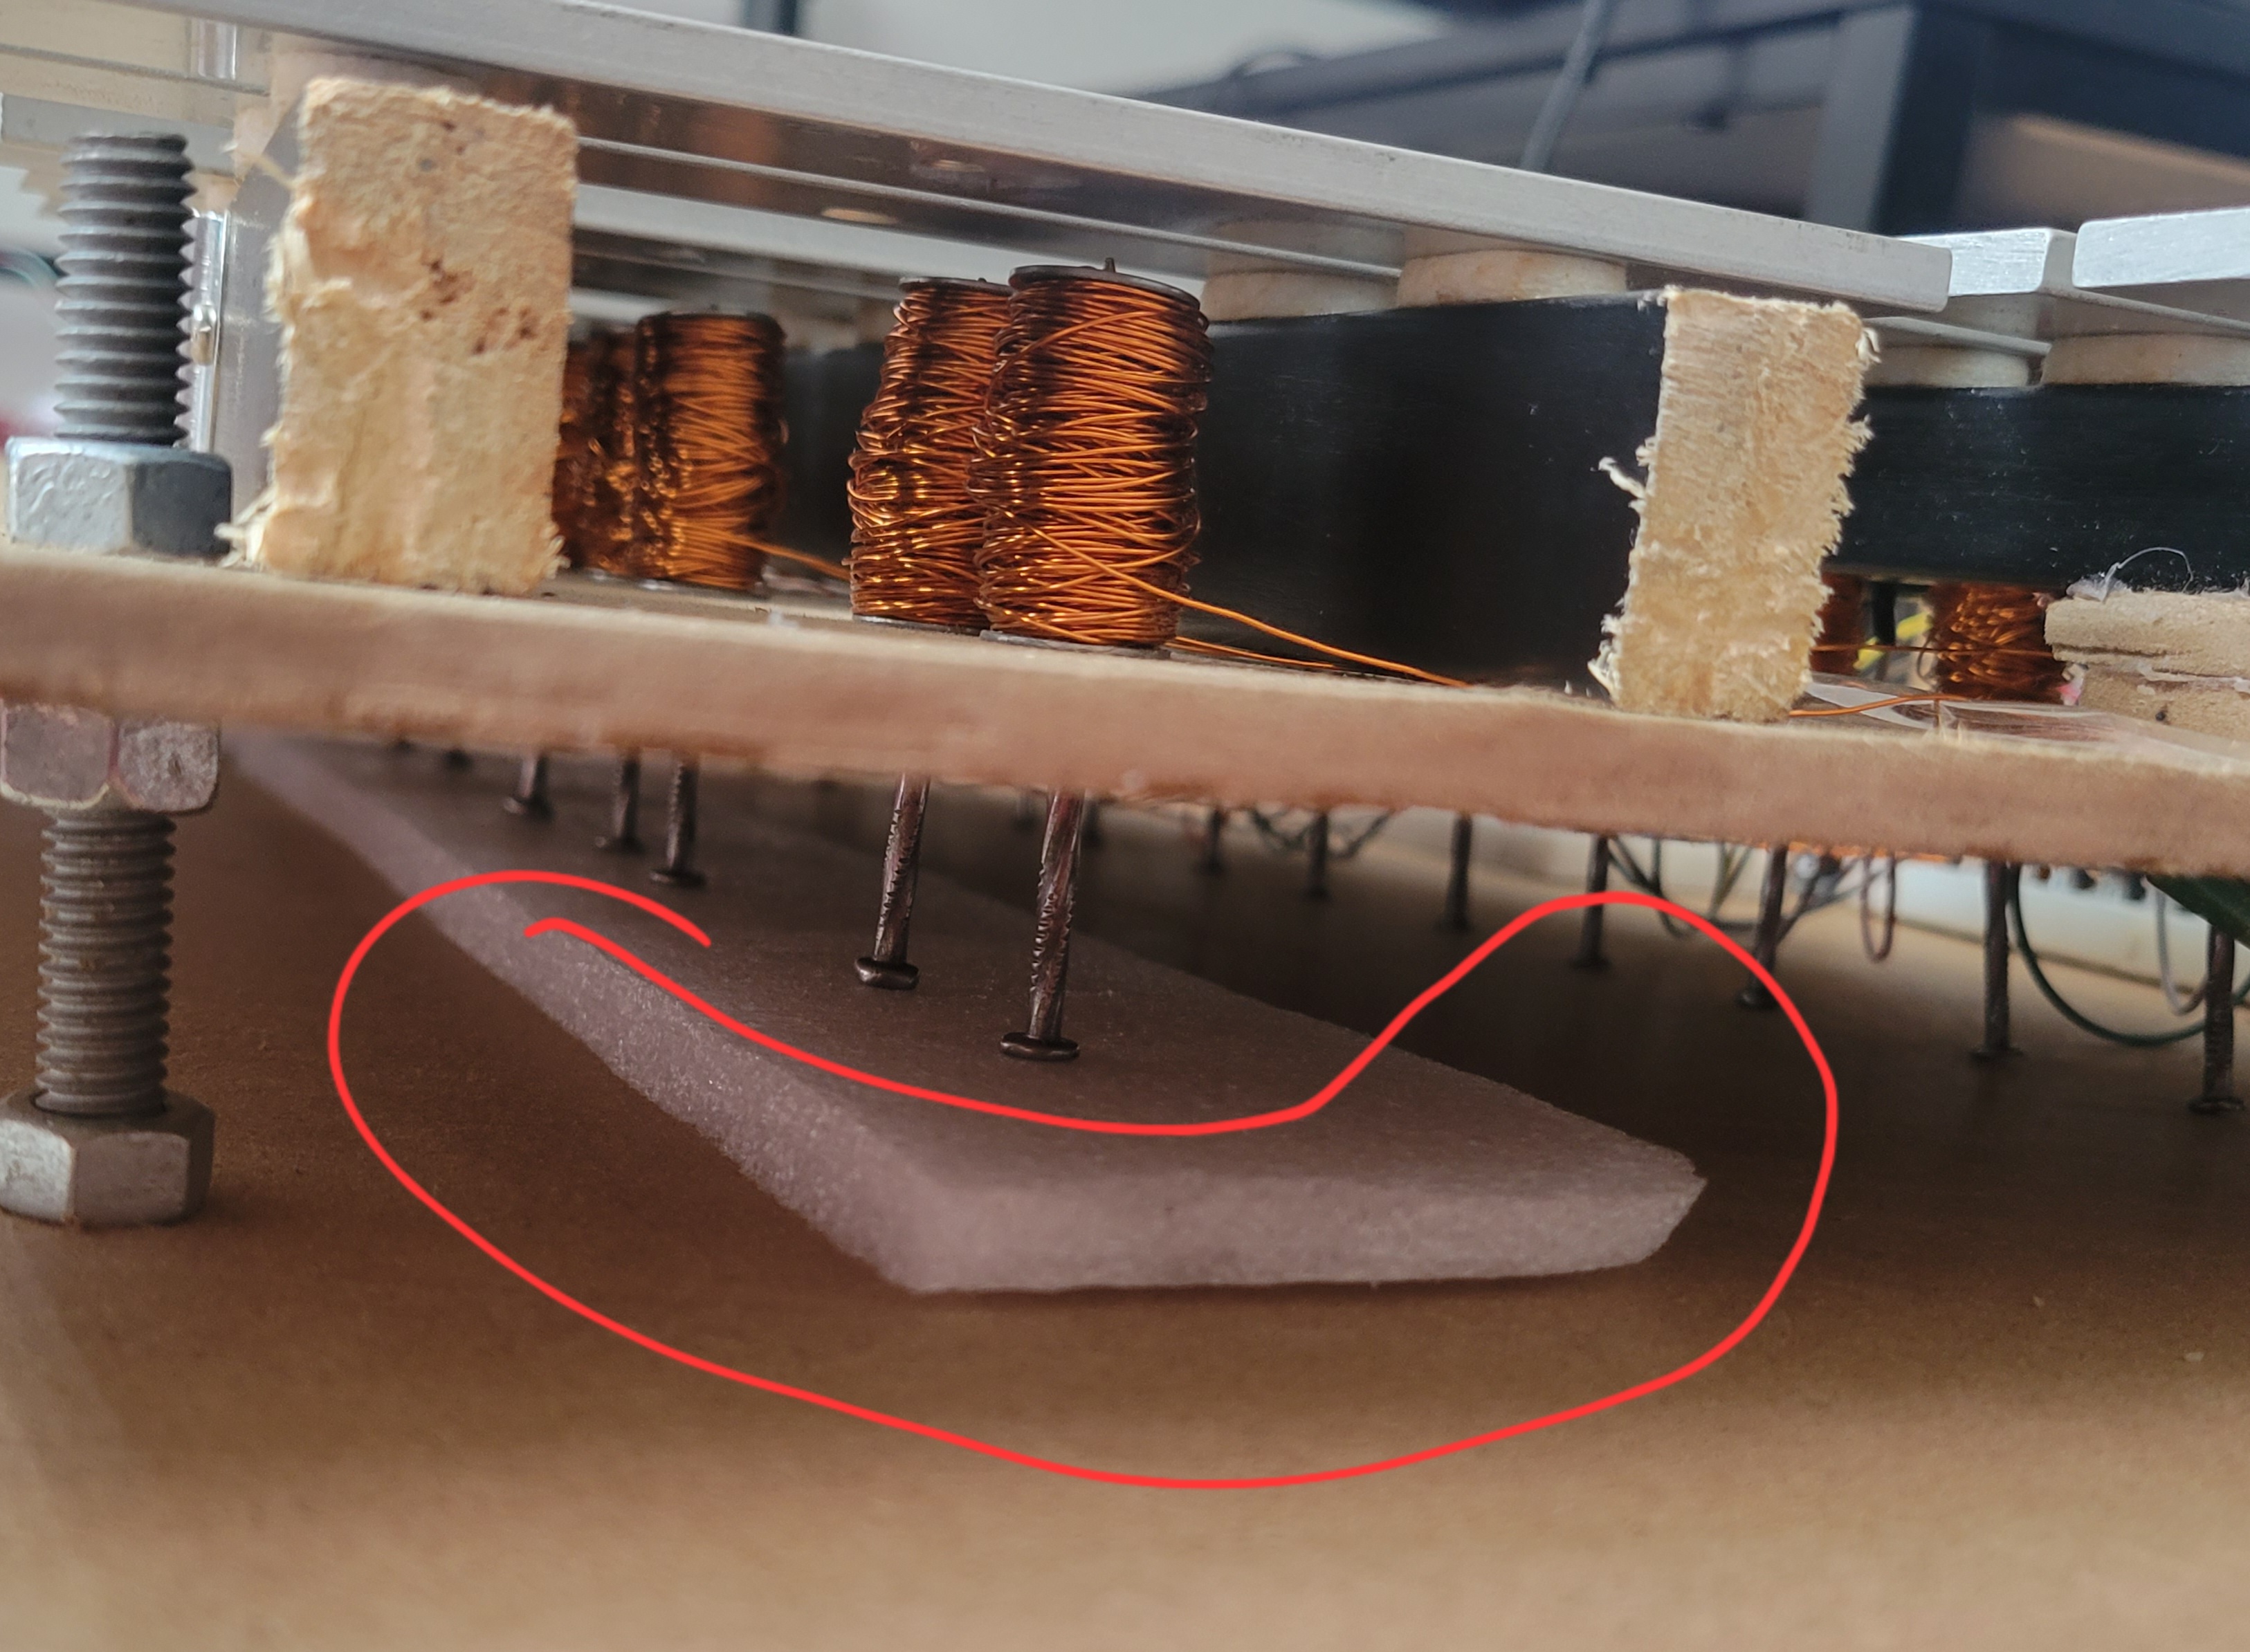
Put a foam to to absorb the nail strike and cancel its noize.
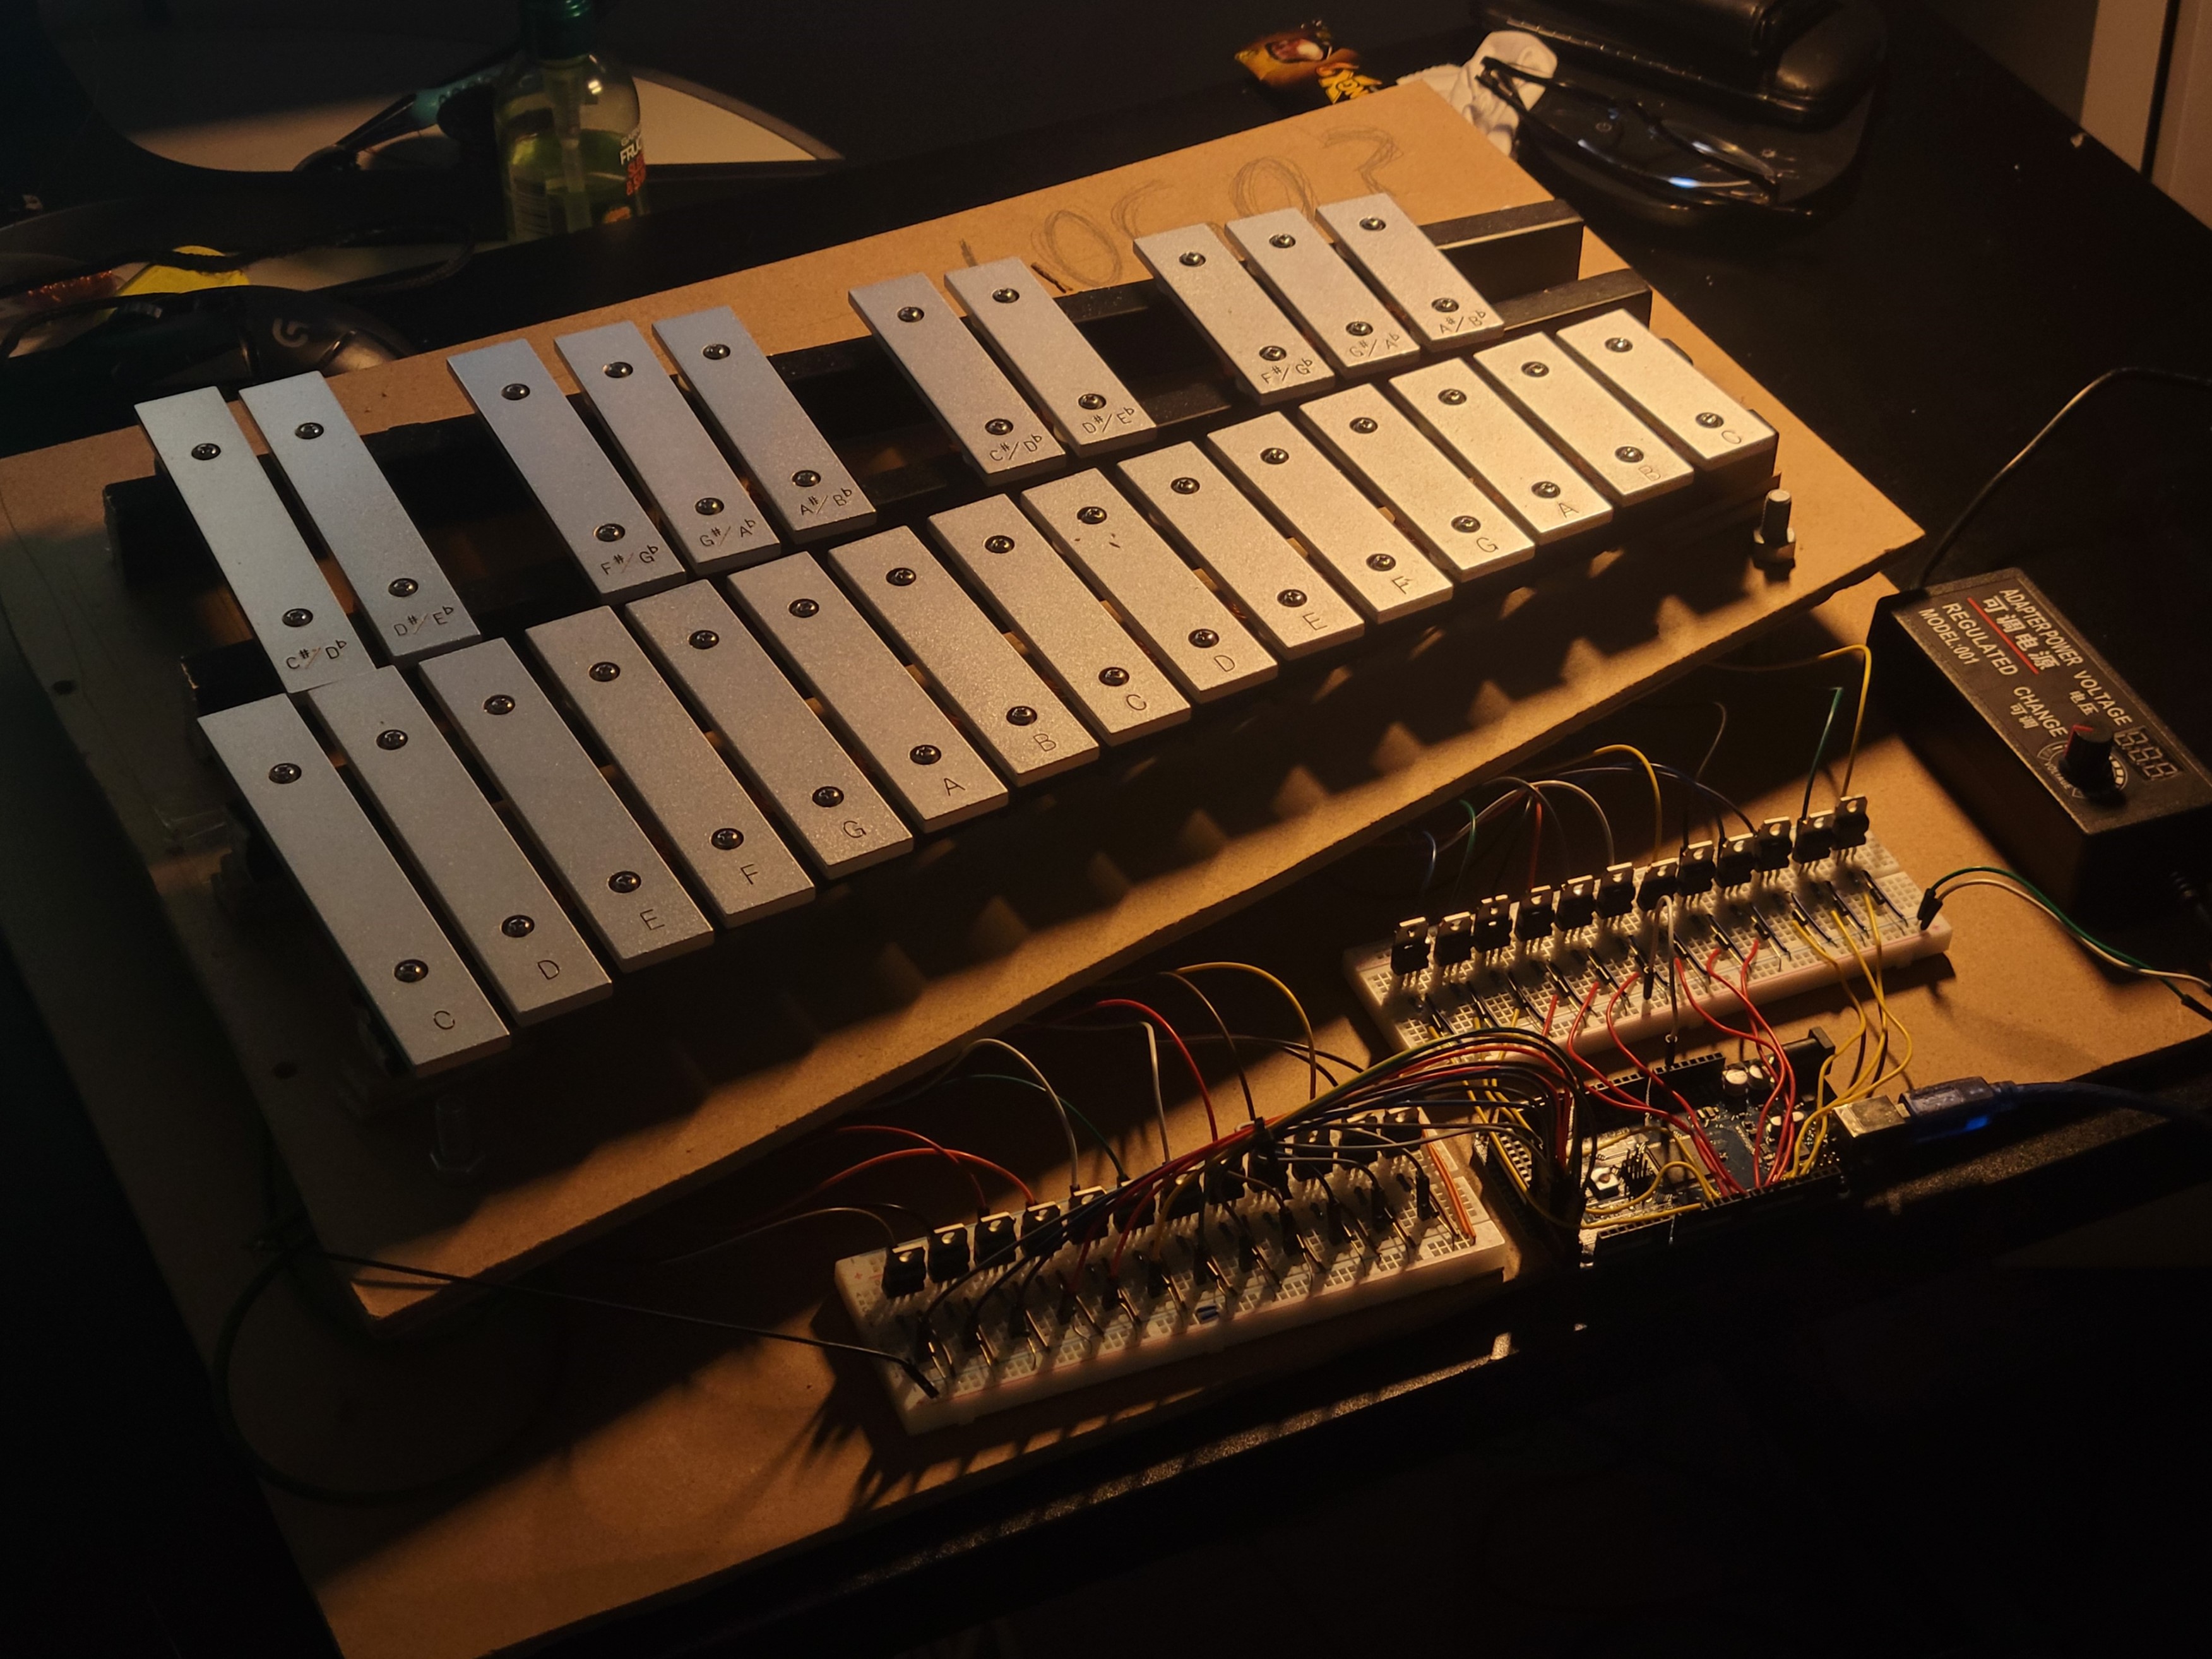
Looking good :)
Software
My goal is recognize notes on musical sheets (.jpeg) and send Indexes of notes & timing to Arduino but for now im just using the MIDI library and thats its idea:
MIDI file
You can use this website it contains a lot of MIDI files alternatvely you can google:[nameOfMusic.mid].
Digital audio software
LMMS is a digital audio software I used to:
- Read MIDI files.
- Ignore bass, melody and drums in order to play just the instrument (piano,guitare...).
- output to the Data the virtual port (see next step).
Virtual MIDI port
We need to "trick" LMMS and create a virtual MIDI device so it can output into it, I believe creating a virtual media is not required for macOS, but please do some googling, for Windows loopMIDI is working fine!
Bridge
I used Hairless MIDI to transfer MIDI inputs to the Arduio, the numbers shown as "Note: XX" are indexes of the notes assinged by the MIDI library C4=60.
Arduino + Library setup
- Mapping all soelnoids with Arduino's PIN, basically telling arduino the index of each note.
- A function to read the MIDI inputs.
- I have 24 notes thats 2 octaves if a note is played outside of that range it will be played its equivalent on the existinig range (ie: C6 is out of range so it will be played as C5) not very accurate but way better than no sound, so I made my array of index virtually bigger to receive all Grand piano's 88 notes.
Some sounds
br
We Wish You a Merry Christmas
The Star and Stripes for Ever
from Hacker News https://ift.tt/CIid1uM
No comments:
Post a Comment
Note: Only a member of this blog may post a comment.