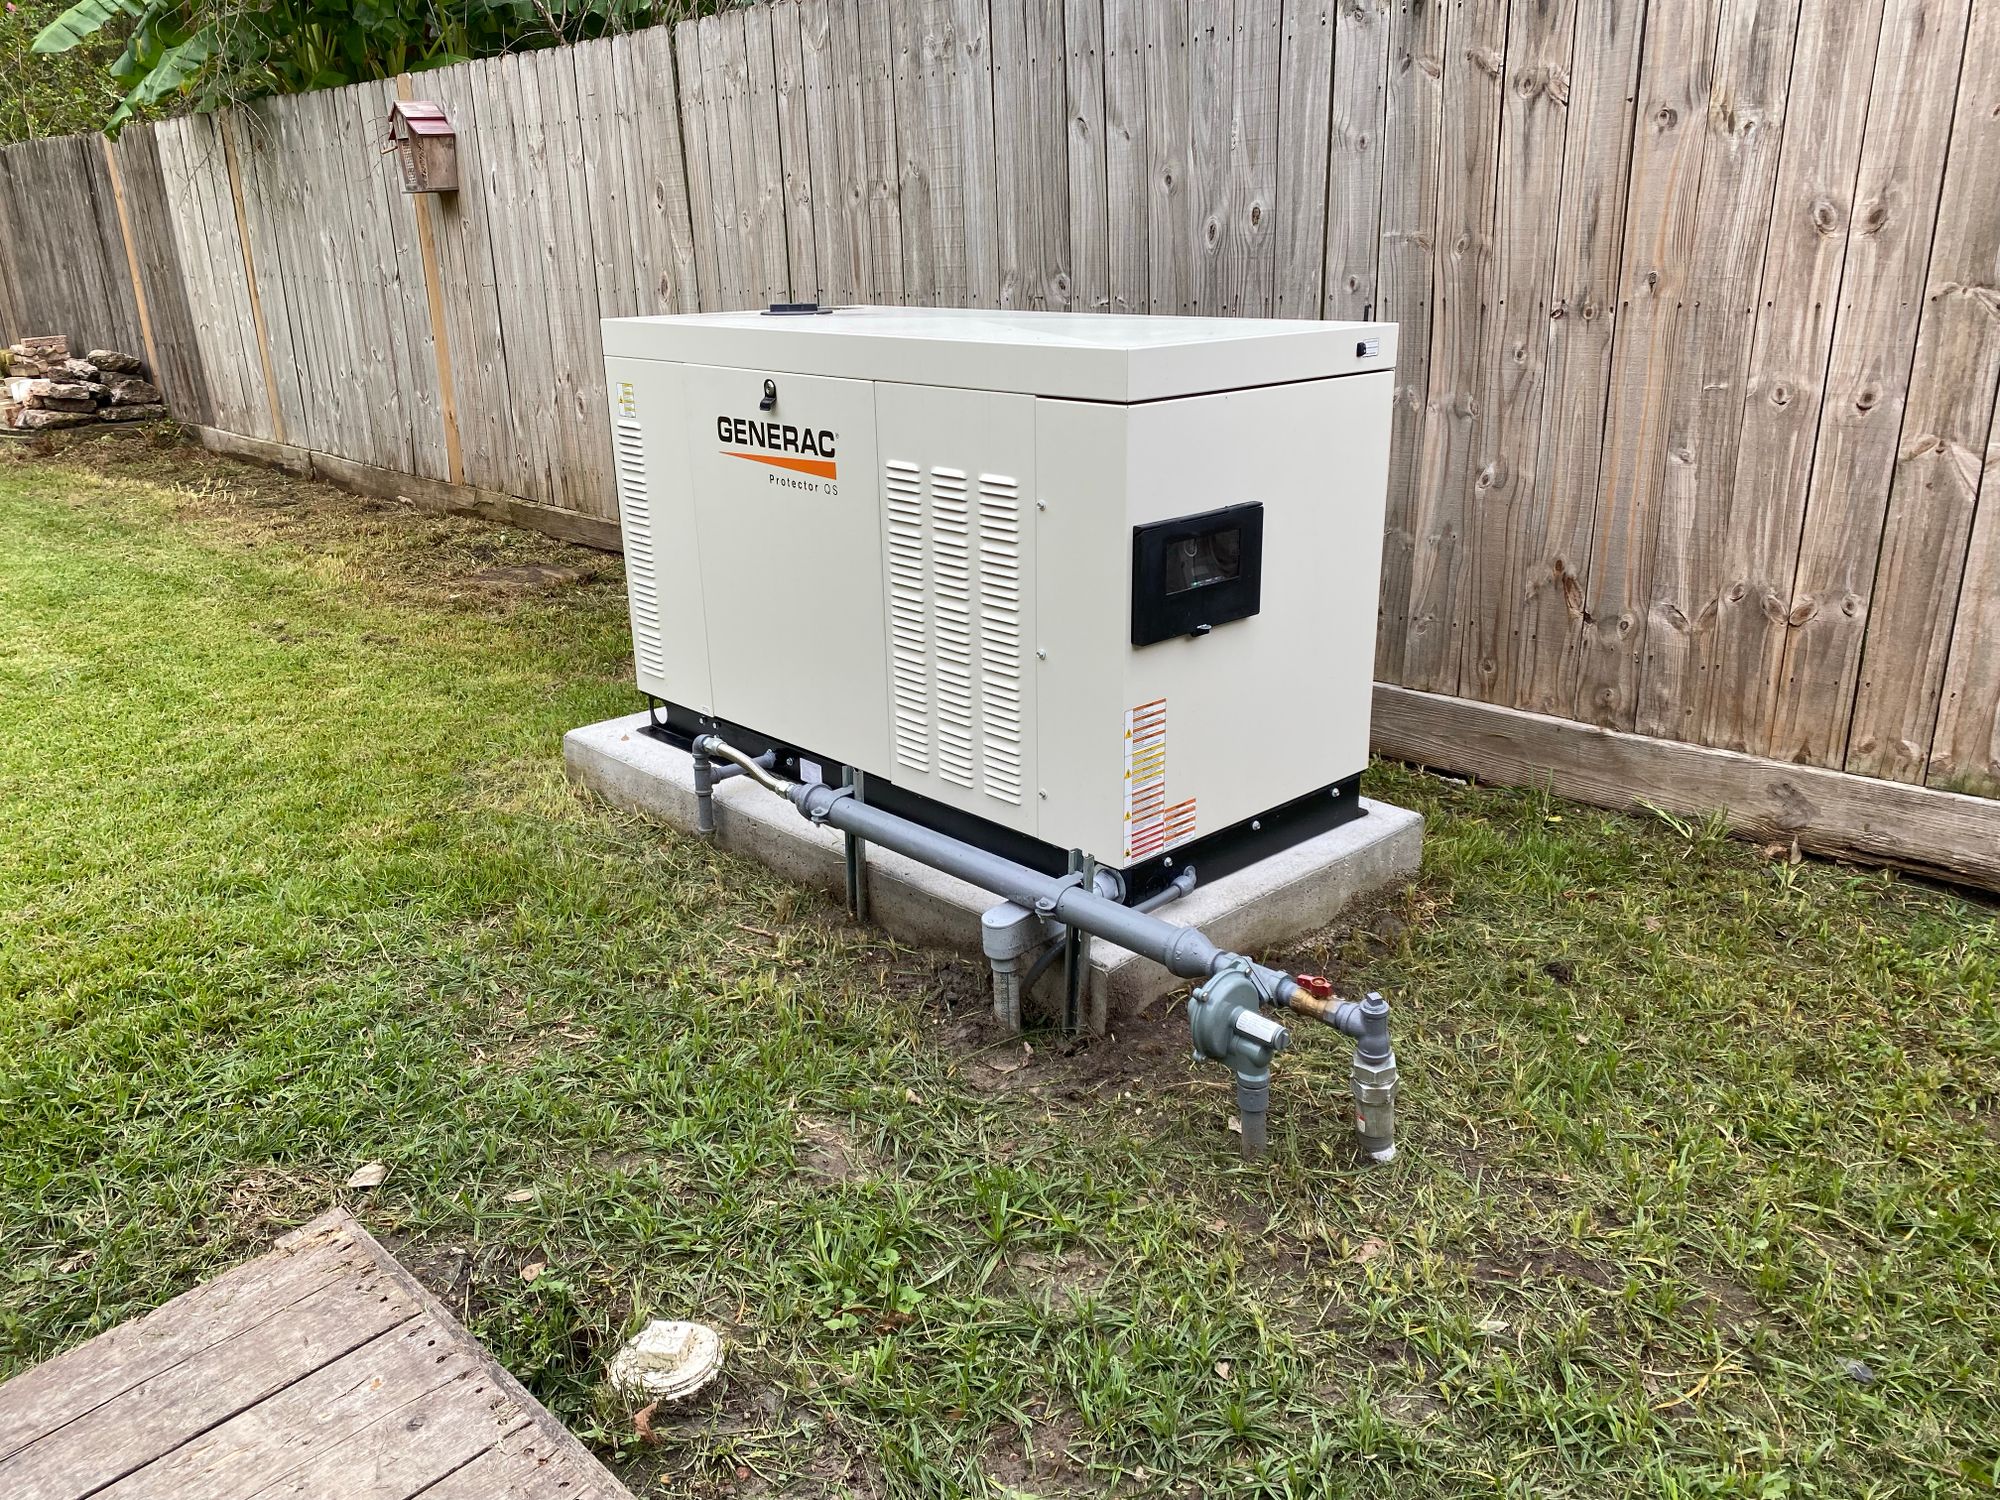
A while ago I got a Generac RG027 Liquid Cooled Generator. It runs on a 2.4l Mitsubishi engine running at 1800RPM.


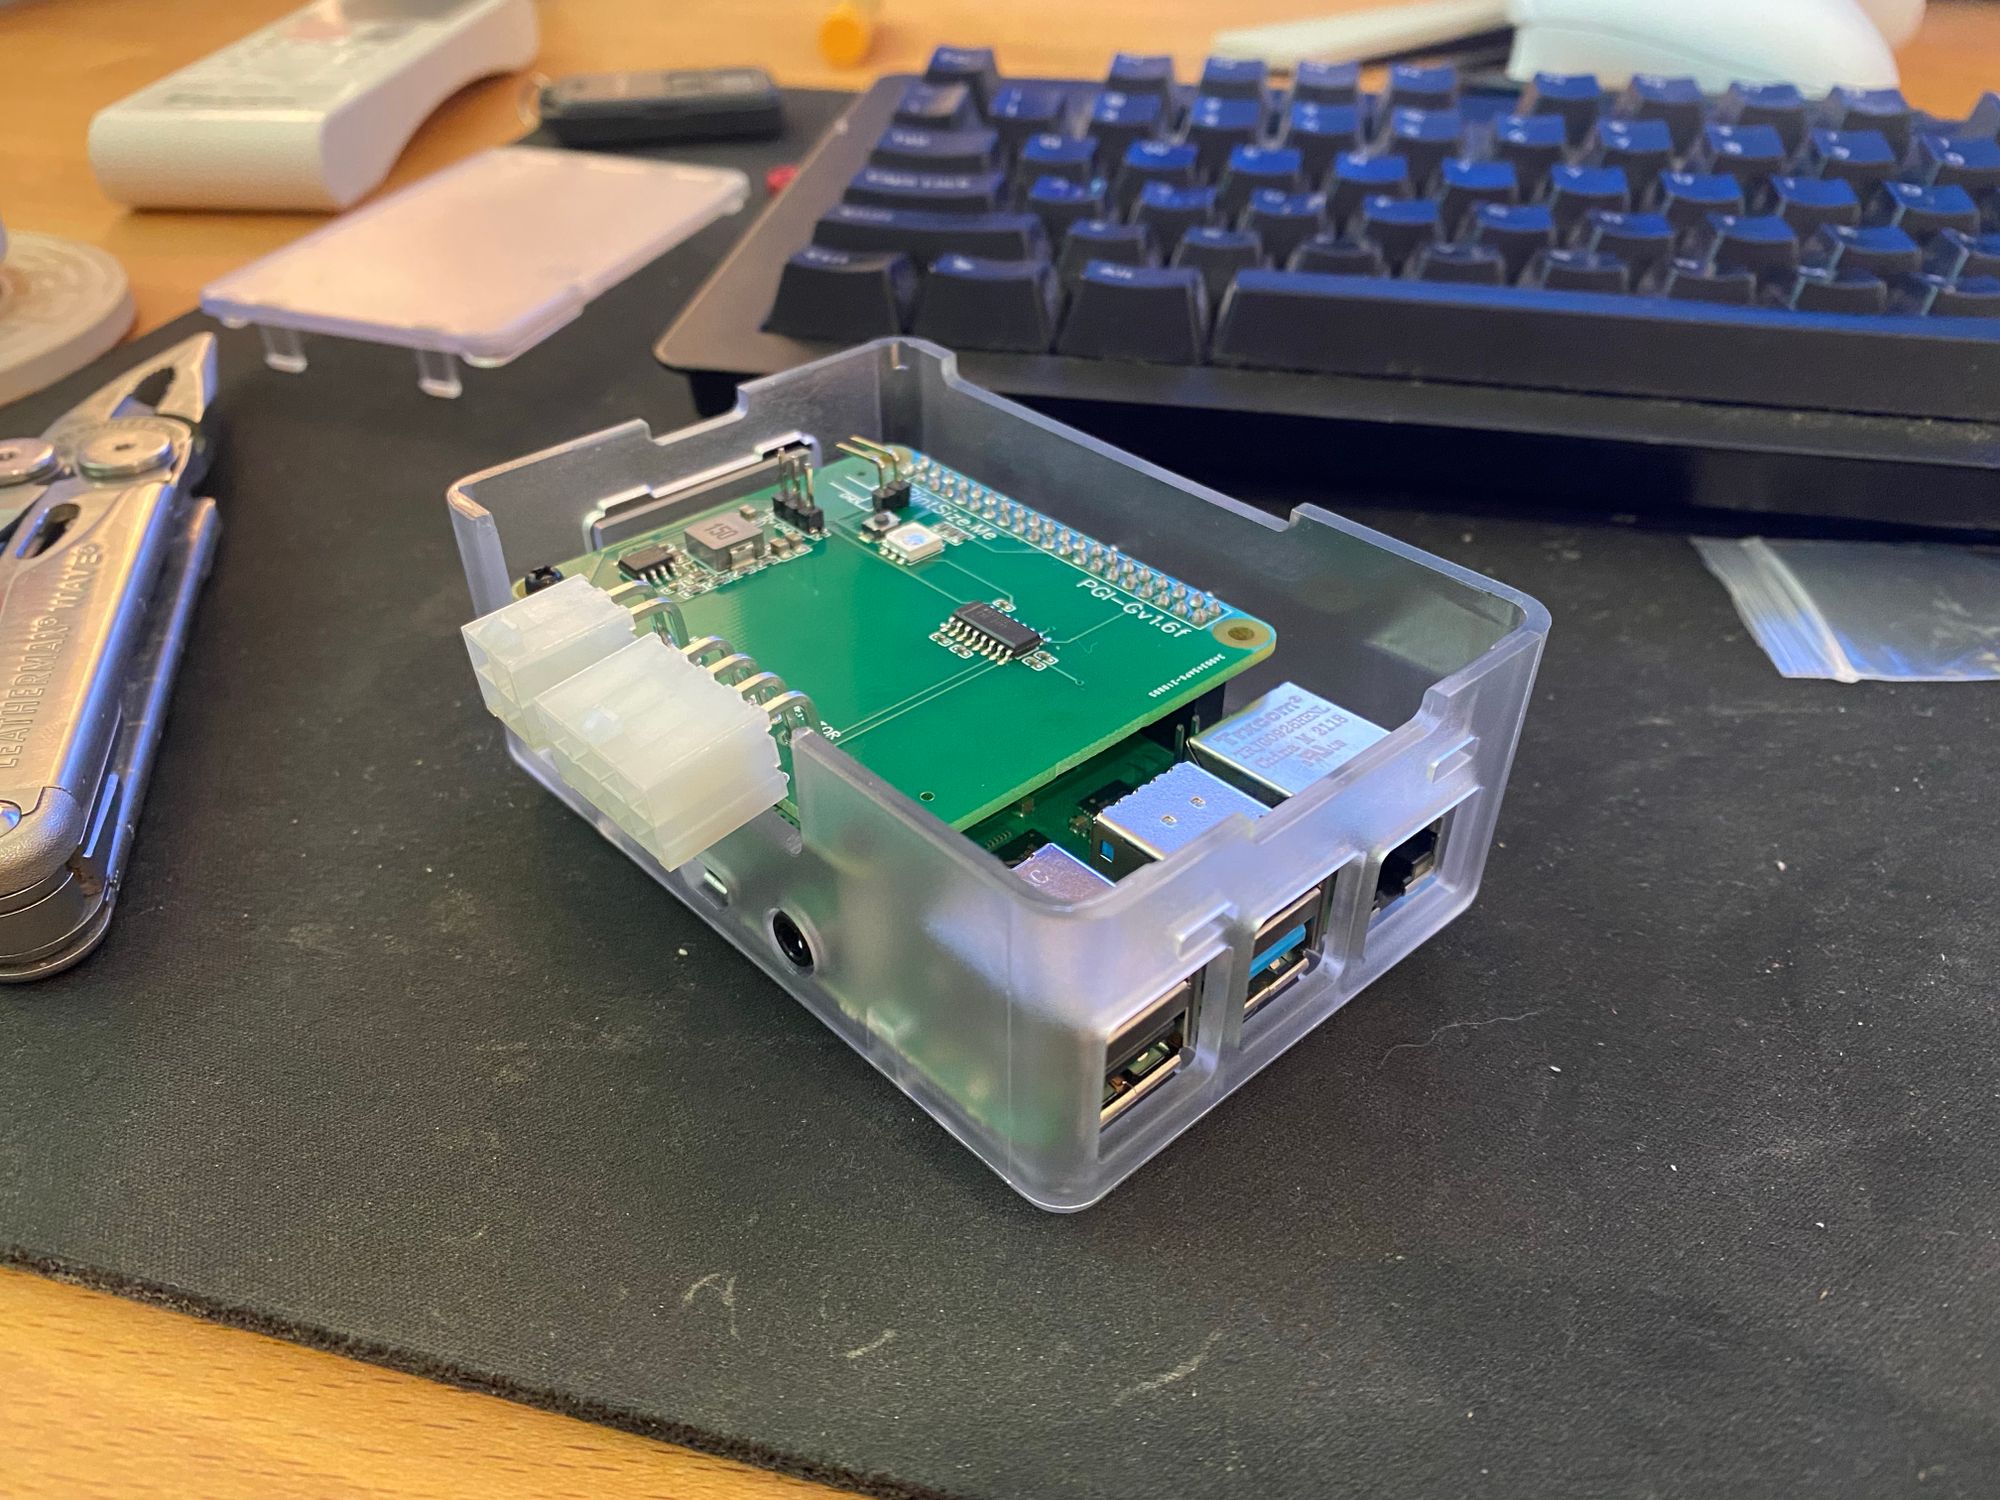
The Generac Monitoring sucks, so I installed Genmon. An open source generator monitoring solution on a Raspberry Pi 4
GitHub - jgyates/genmon: Generac Generator Monitoring using a Raspberry Pi and WiFi
Generac Generator Monitoring using a Raspberry Pi and WiFi - GitHub - jgyates/genmon: Generac Generator Monitoring using a Raspberry Pi and WiFi
Raspberry Pi Parts list
- Raspberry Pi 4 - 4GB RAM
- Samsung PRO Endurance 64GB MicroSD Card
- HighPi Clear Case
- PrintSize.Me Generator Hat with 1 Meter cable (Link)


I got the Genmon software installed and tested out the Pi for a few days

Then I got to the install. First I installed it with Cat6. I used trueCABLE Cat6 Direct Burial CMX Cable (Link)

I happened to have a spool of the cable free, so I decided to use it

You can see that I have some Sealtight conduit already there. Before the generator installer finished filling the trench, I snuck it in
It don't have to go too far, you can see the garage on the left where I am going to

It was a real pain getting the cable to push through, so I used whatever lube I had on hand. It worked great!

Here is where it enters the garage. I just used an electrical box, and drilled a 5/16 hole through the wall


And here is how the conduit connects to the generator


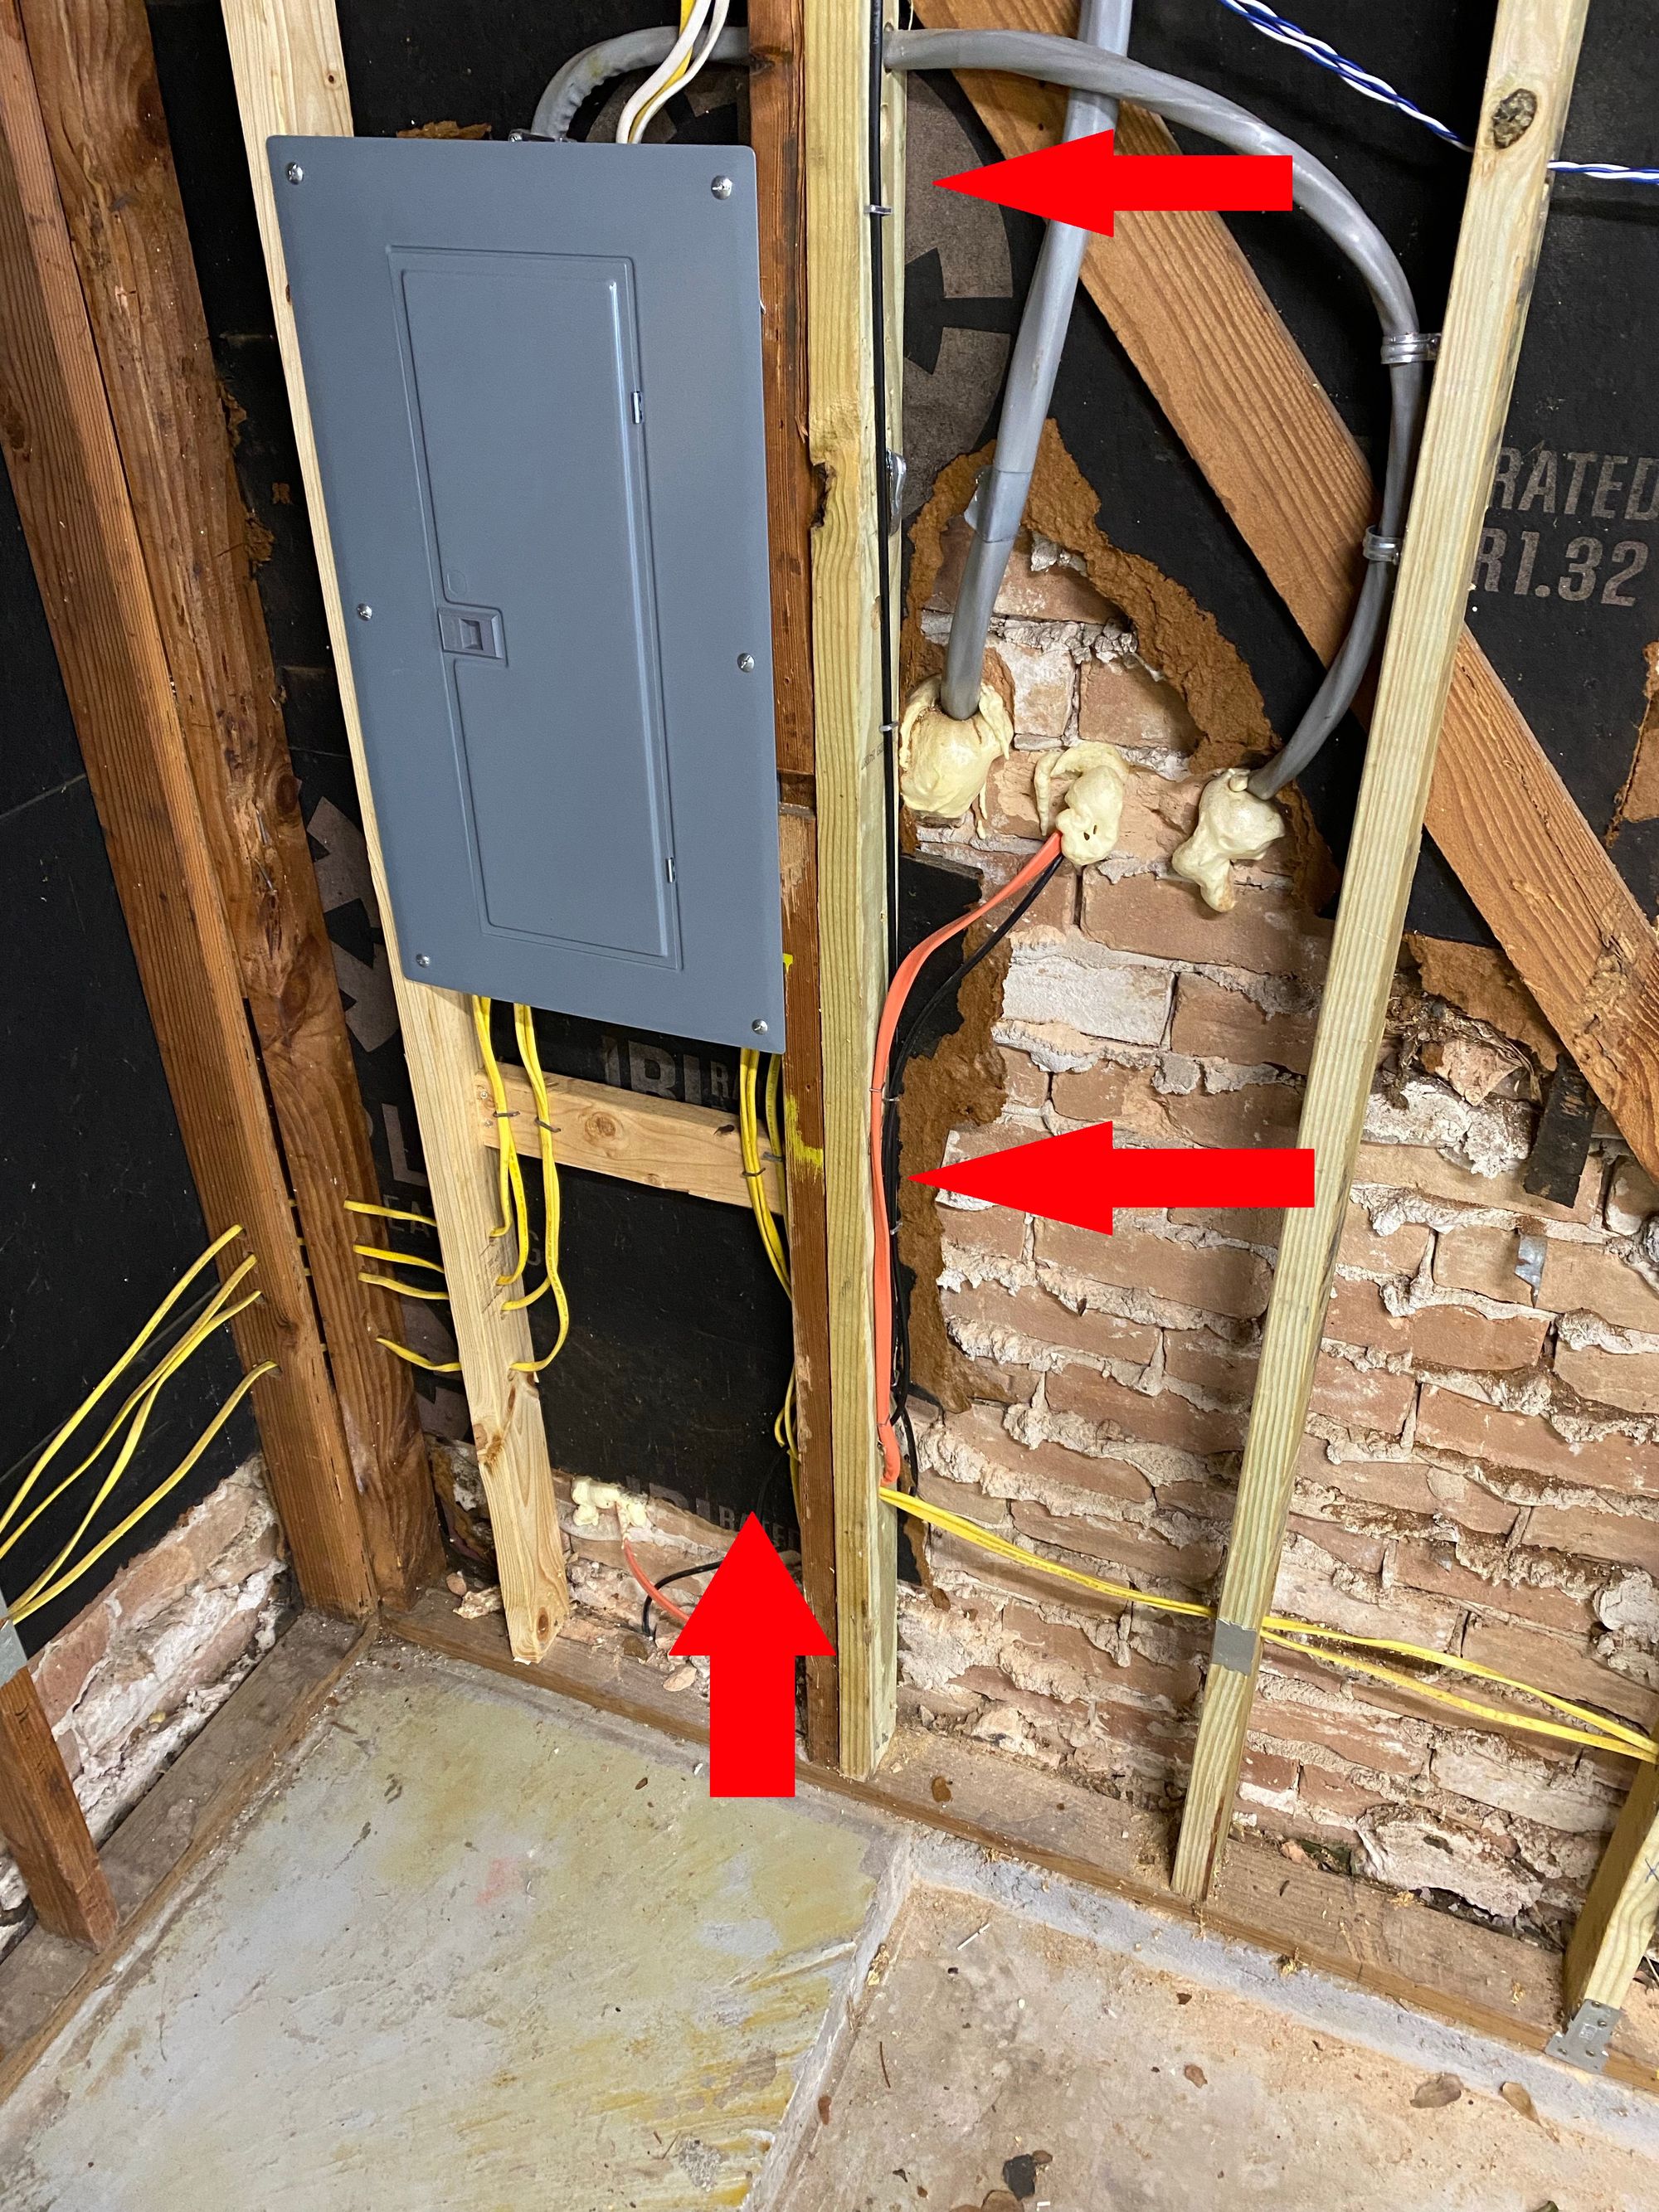
Inside the garage the cable goes up the wall

And then into my garage rack (Ignore the dust...)

Now that the networking is done, on to the Genmon install
It was a real pain to get the cable into the back of the controller. I had to remove the front panel, and then unscrew the controller

I then unplugged the MobileLink module, and plugged in the cable I got with the Generator hat

I attached the Pi with double sided Velcro, and terminated the ethernet with an RJ45. It gets power via a USB-C PoE Splitter (Link)


The connector looks bent, but its very strong. Its just how the hat is made
I also attached the PoE Splitter with velcro

It worked right away, no problems at all. I got my laptop out to test

Here are some screenshots


One of the main features I wanted this for is below, the enhanced exercise which actually transfers load to the generator

That would be the end of this post, but I kept reading articles and watching videos about people having nearby lightning strikes which ended up travelling through ethernet cable, and destroying their whole network. An example is this The 8-Bit Guy video. At 6:00 he is talking about it
I don't really care if my Cisco switch gets killed, but I am very concerned that the Raspberry Pi could get fried, and then kill the generator controller. Since I had a bunch of fiber laying around, I figured I would swap the Cat6 to OM3 Multimode fiber. Here is the updated parts list! I need power too now since I won't be using PoE
- FS.com Media Converter (Link)
- 2 x 1Gb SFP Transceivers (Link)
- 2m OM3 Patch Cable (Link)
- 30m OM3 Patch Cable (Link)
- LC to LC Keystone Jack (Link)
- NOCO GC018 12-Volt Adapter Plug Socket with Eyelet Battery Terminals (Link)
- 24w Anker USB Car Charger (Link)
- USB Barrel Cable (To power Media Converter from USB) (Link)
I tested everything out to make sure it worked with a spare Raspberry Pi. The Media converter works great powered via USB


Now I know it all works, time to install it

I used the same orange split-loom conduit as my other fiber


Here is the media converter mounted also with velcro


Since there now is no PoE, I need to tap the battery for power

And here is the USB Charger mounted in the generator, with the USB cables going through a gap

You may wonder why the USB Charger is not installed on the other side near the Pi. The reason is that the front of the generator takes 6 bolts to remove, and its a lot of work. To get to the engine compartment of the generator where the USB charger is, its just a side panel that unclips. So if the Pi ever locks up, I can power cycle it by unplugging it here
Thats all! Hopefully I don't touch this for a while
from Hacker News https://ift.tt/3lxstOs
No comments:
Post a Comment
Note: Only a member of this blog may post a comment.